Within this tutorial, we are going to use RapidCompact CLI to remove small features which are not desired in the optimized output. Small Features can be any unconnected geometry which is equal or smaller to the relative (to the bounding box of the whole mesh) or absolute (in used unit system) target value.
Often times when a model is automatically generated, for example from point clouds, there can be alot of noise and as a result small mesh features all over the place which are tedious to clean up manually. Likewise meshes coming from CAD or other construction data also contain several small features such as screws; For those types of inputs an absolute target value based on the unit system can be advantageous for getting rid of certain types of detailed micro meshes and structures in an efficient and fully automated way.
We will now remove a small feature on a simple example mesh from a 3D scan of the roman statue erato (courtesy of Geoffrey Marchal), which you can download here.
After unpacking the OBJ file try now to load the model and first render an image to see what it looks like:
rpdx -i erato.obj --render_image erato.png
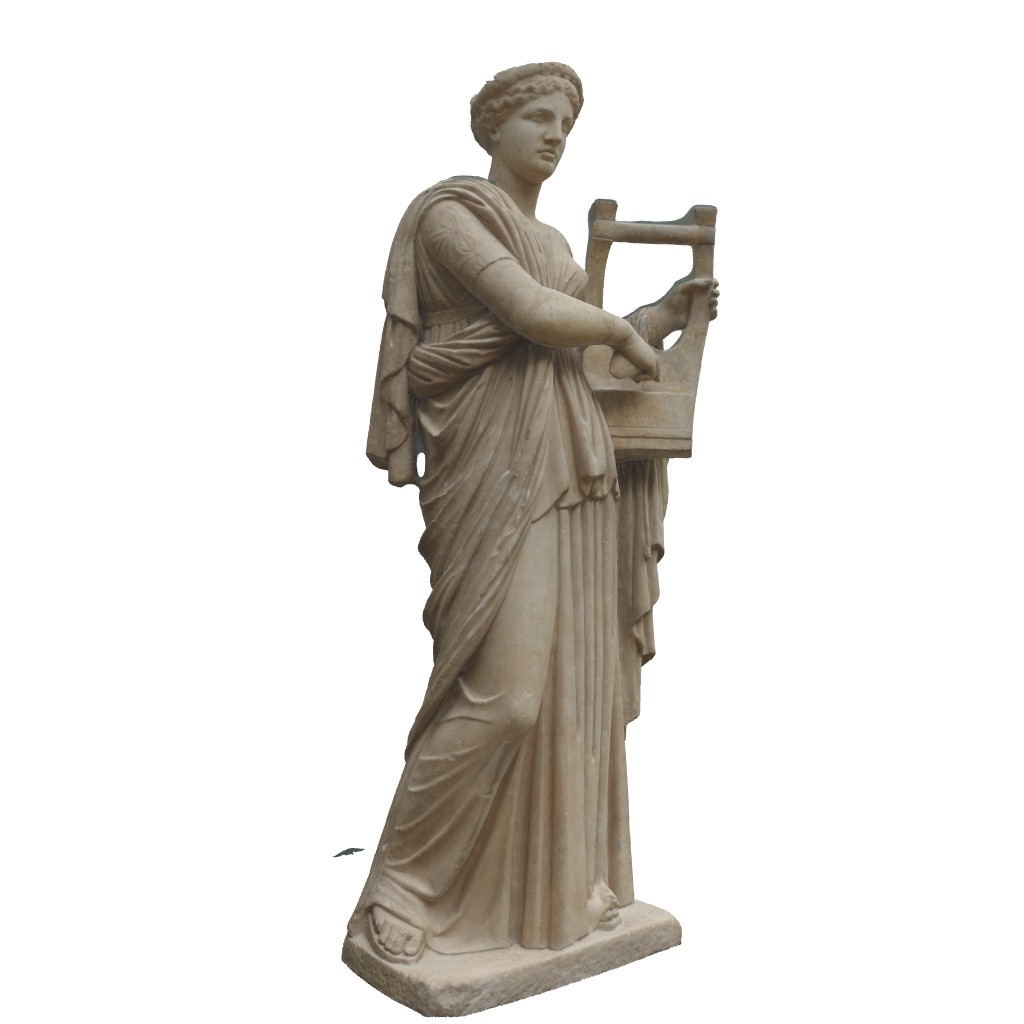
You can see that RapidCompact CLI rendered a simple image and we can identify some meshed noise from the scanning process in the bottom left corner. Let us now execute the command and remove the small feature we identified before:
rpdx -i erato.obj --remove_small_features 10 --render_image erato-optimized.png
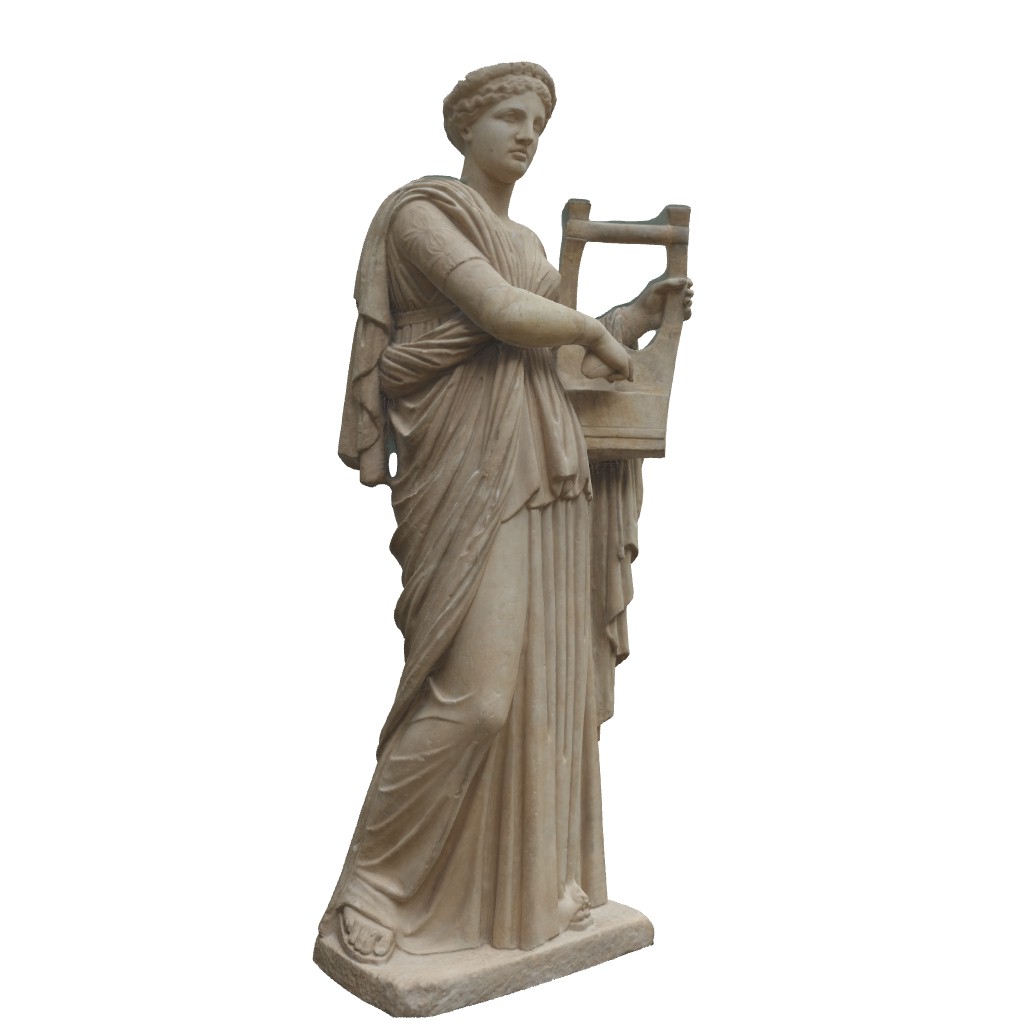
As you can see the small feature was removed and the rendered image adjusted the camera slightly to fit the new bounding box. In this case it would not make a difference if we choose the absolute target of 10 or a relative target such as 10% because of the simple input of just one main mesh and one simple feature. Let's have a look at a more differentiated input file so that we can identify differences between absolute and relative target values:
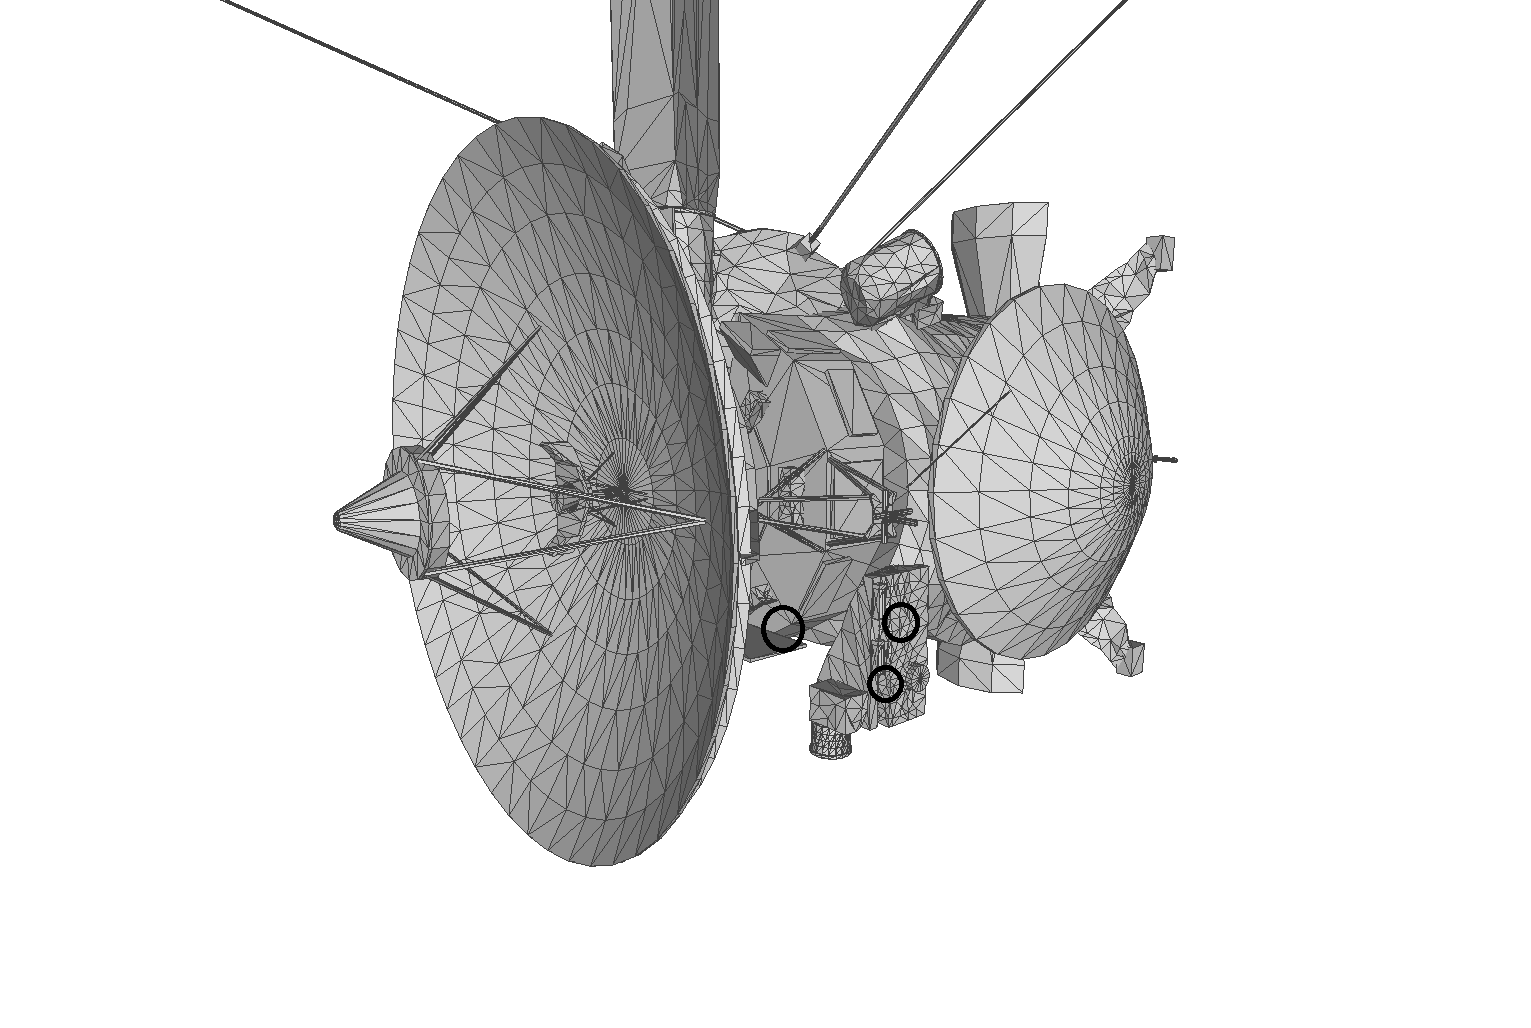
We can simply re-use the cassini.stl file from the previous tutorial:
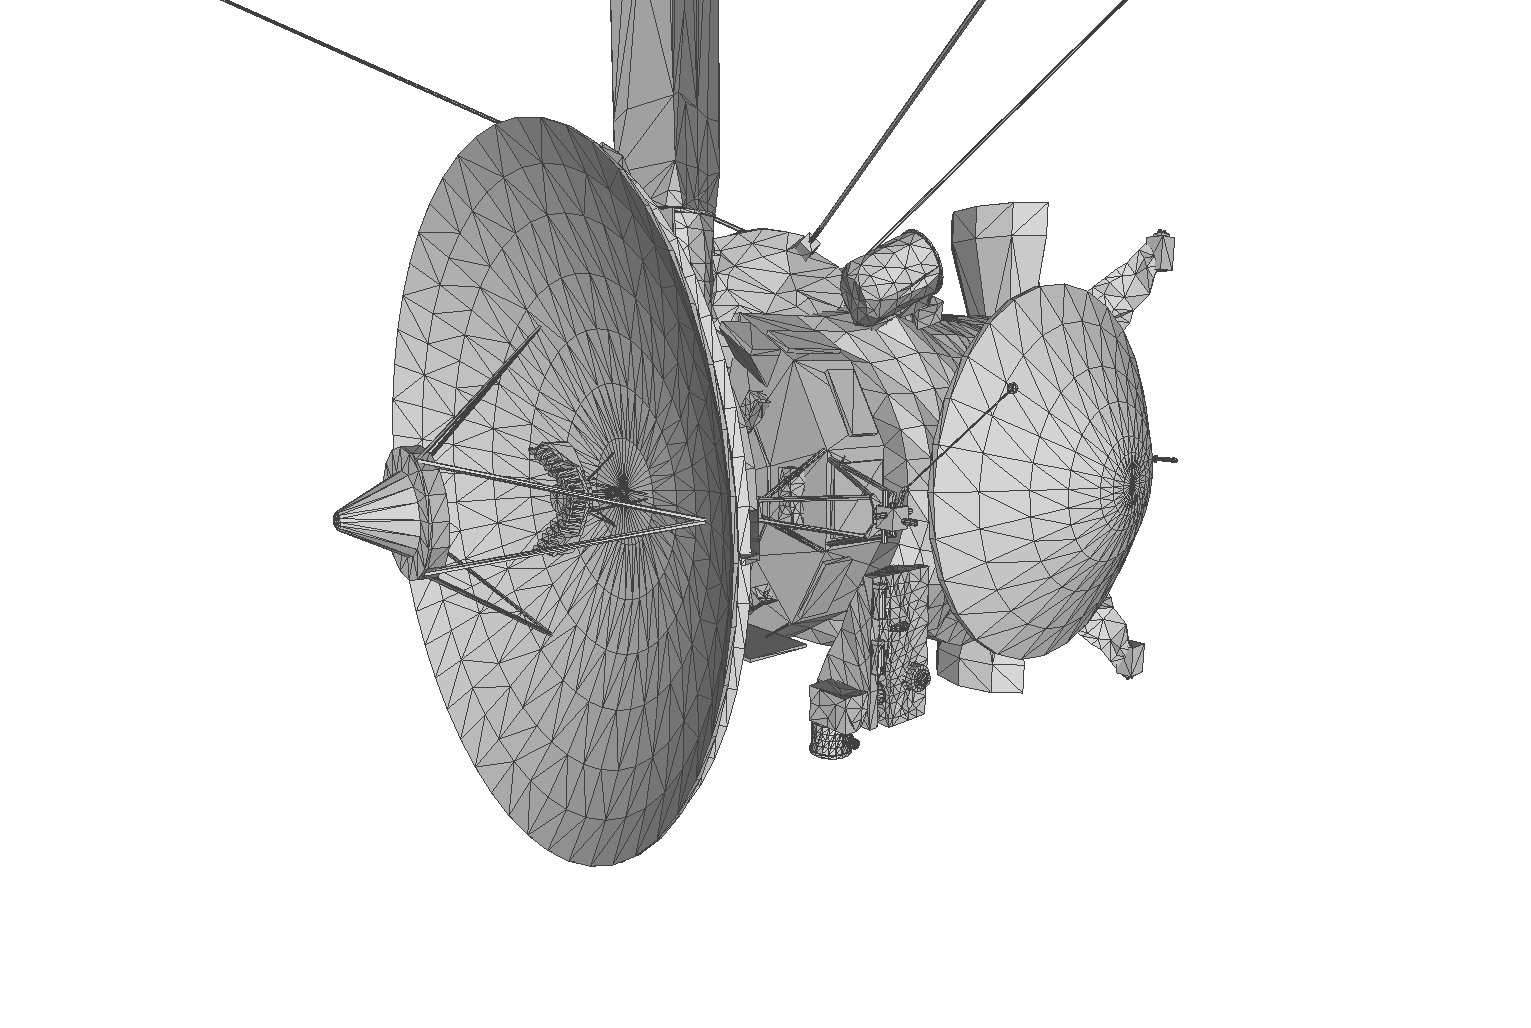
As you can see the mesh consists of several smaller parts which are not necessary connected. In this case we will get different results when choosing absolute or relative (%) target values. Let us start with a target value of 1 which in this case is only dependent on the internal scale of RapidCompact due to the missing units in STL or OBJ format:
rpdx -i cassini.stl --remove_d --remove_small_features 1 -e cassini-1.obj
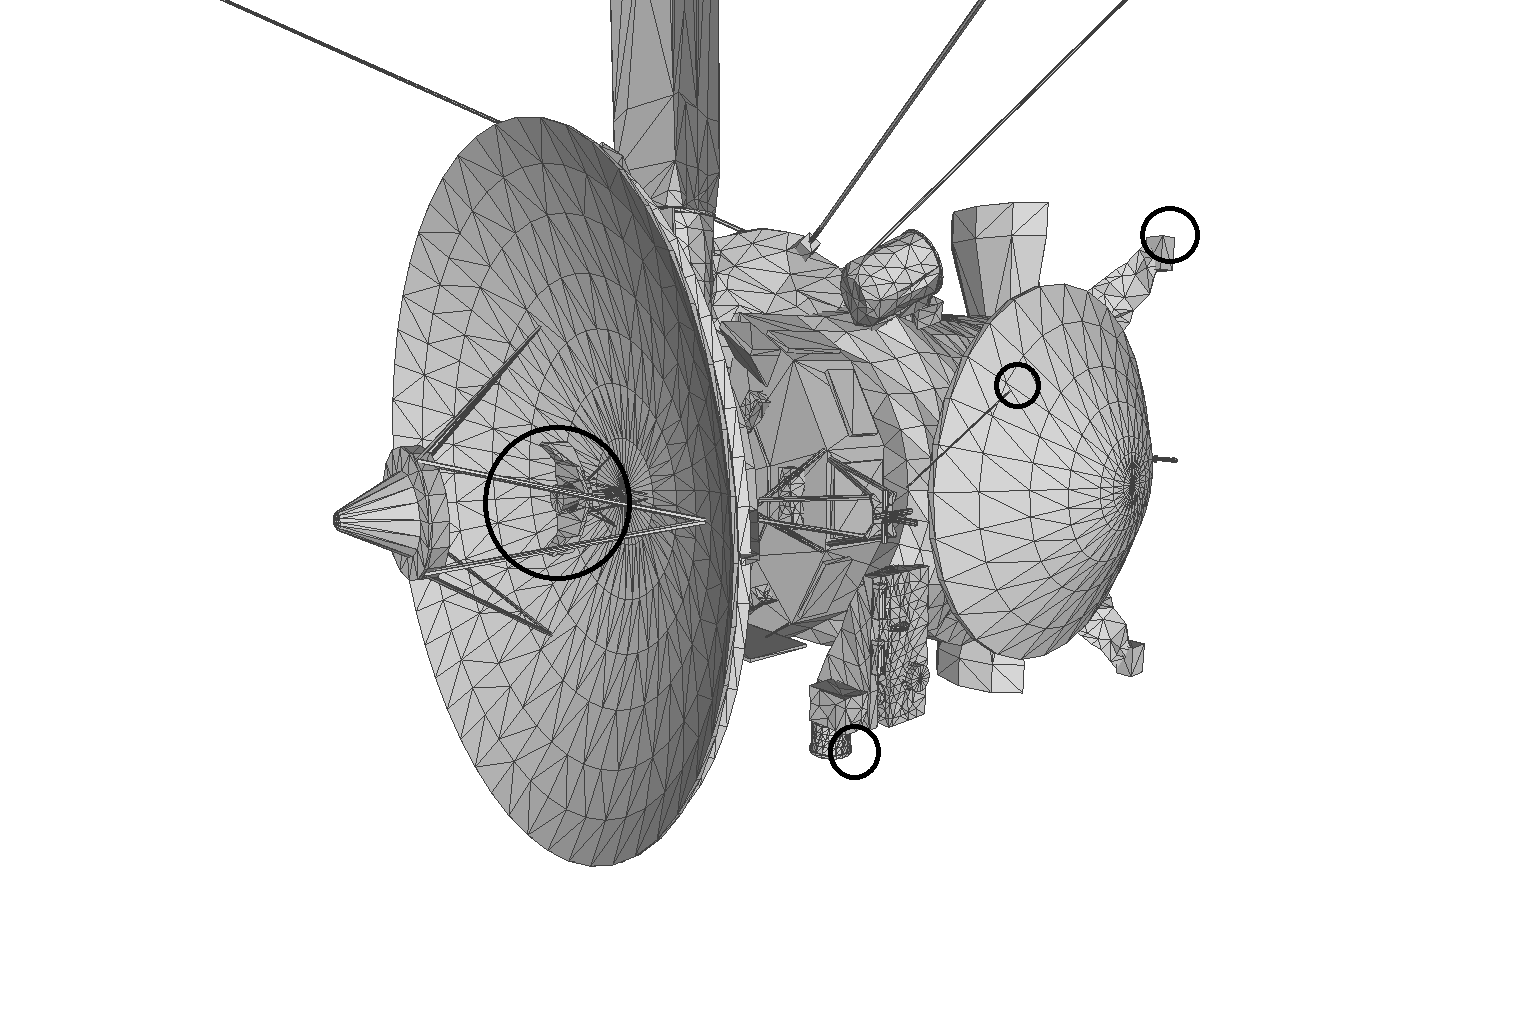
We were able to temove several parts which have a maximum axis length of 1 or lower. Let us try now to remove parts which are equal or smaller to 1% relative to the bounding box:
rpdx -i cassini.stl --remove_d --remove_small_features 1% -e cassini-1%.obj
As you can see the results are pretty similar. However with the last method we removed a few more parts due to the relative size target (1% of the bounding box in this case is larger than the unit 1).