Within this tutorial, we are going to use RapidCompact CLI to create a compact, textured representation of a mesh. The resulting model will be just a fraction of the original size, but visually it will be almost identical. We will first do this using default settings, and then tweak some parameters to generate more polished and impressive results. After that we will have a look at an example on how to put out multiple meshes (LODs) with just one command. Finally, we will check how to present the results in different contexts.
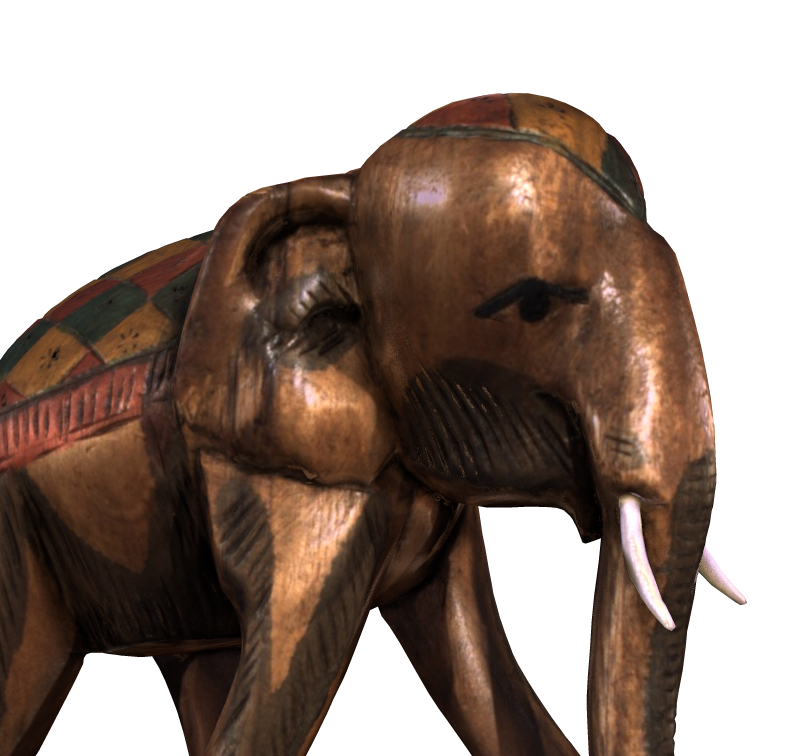
To get started with this tutorial, we will need to have a 3D model to play with. Please go ahead now and download the elephant model, which we will use throughout the tutorial, here. Initially, when loaded into some 3D tool like MeshLab, the data should look like this:
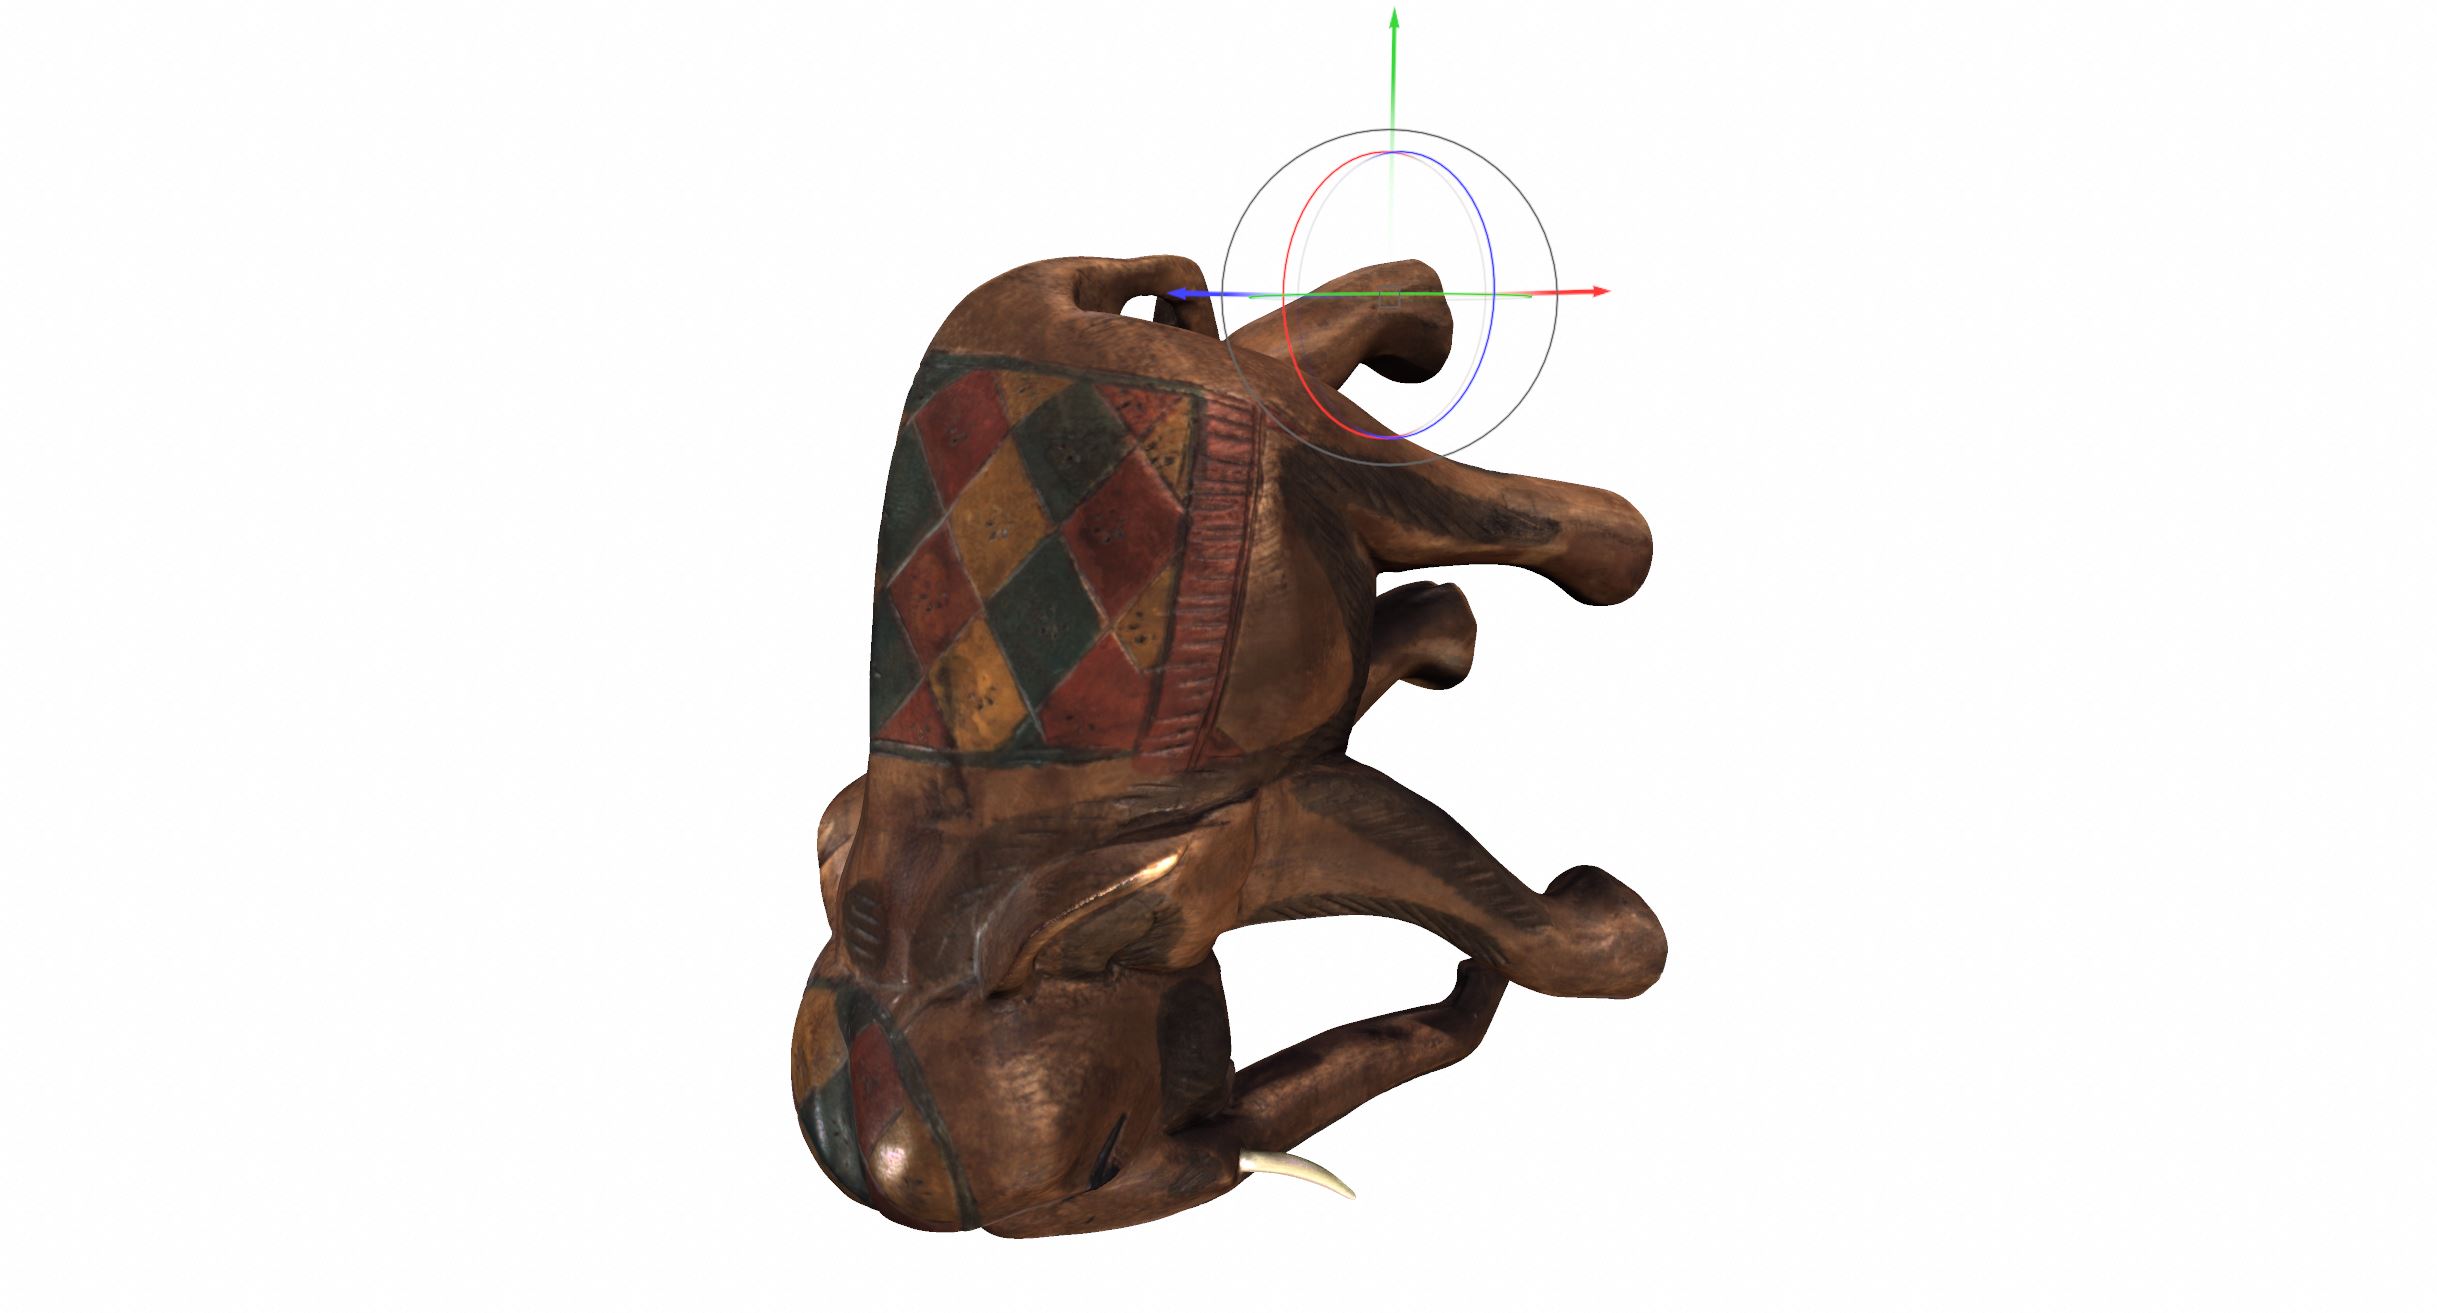
As you can see, the model has a wrong orientation, and this will be the case in many 3D viewers. The reason for this is that the software which exported the scanned 3D data used a different orientation where the z-axis is pointing upwards, whereas many viewers are using a coordinate system where the default up-axis is the y-axis. We'll see how to fix this in a minute. But first, let's see what RapidCompact can do with this model, using default settings to create a much more compact version of this model!
RapidCompact CLI has a lot of commands and settings that can be used to tweak the decimation, UV unwrapping and texture baking processes. However, there's also a very simple master command, termed compact, and we will use it to optimize the elephant model in order to obtain a much smaller, but visually almost identical version.
Having downloaded and unzipped the 3D model, please enter now the directory where you have stored it. It should contain 14 different texture images (5.81 MB) and an OBJ file with material (.mtl) information for the actual mesh data (27.5 MB). In total, this input data set has a size of more than 30 MB, and it consists of over 230,000 polygons and 14 texture images of 1024x1024 pixels each, adding up to 14 Megapixels of texture data in total.
To apply the default optimization, which will reduce the mesh to around 20,000 polygons (< 10%) and 4 Megapixels (< 30%) of texture data for the colors, apply now the following command on your command line (for example, Windows PowerShell):
rpdx -i CHD-Elephant.obj -c -e result/CHD-Elephant_compact.obj
This will create a new directory called result, and the resulting OBJ file and texture images will be stored there. As you can see by checking the size of this directory, the resulting optimized data set is much smaller than the original data. With a partial wireframe overlay, we can see the difference in the underlying 3D mesh before and after the optimization:
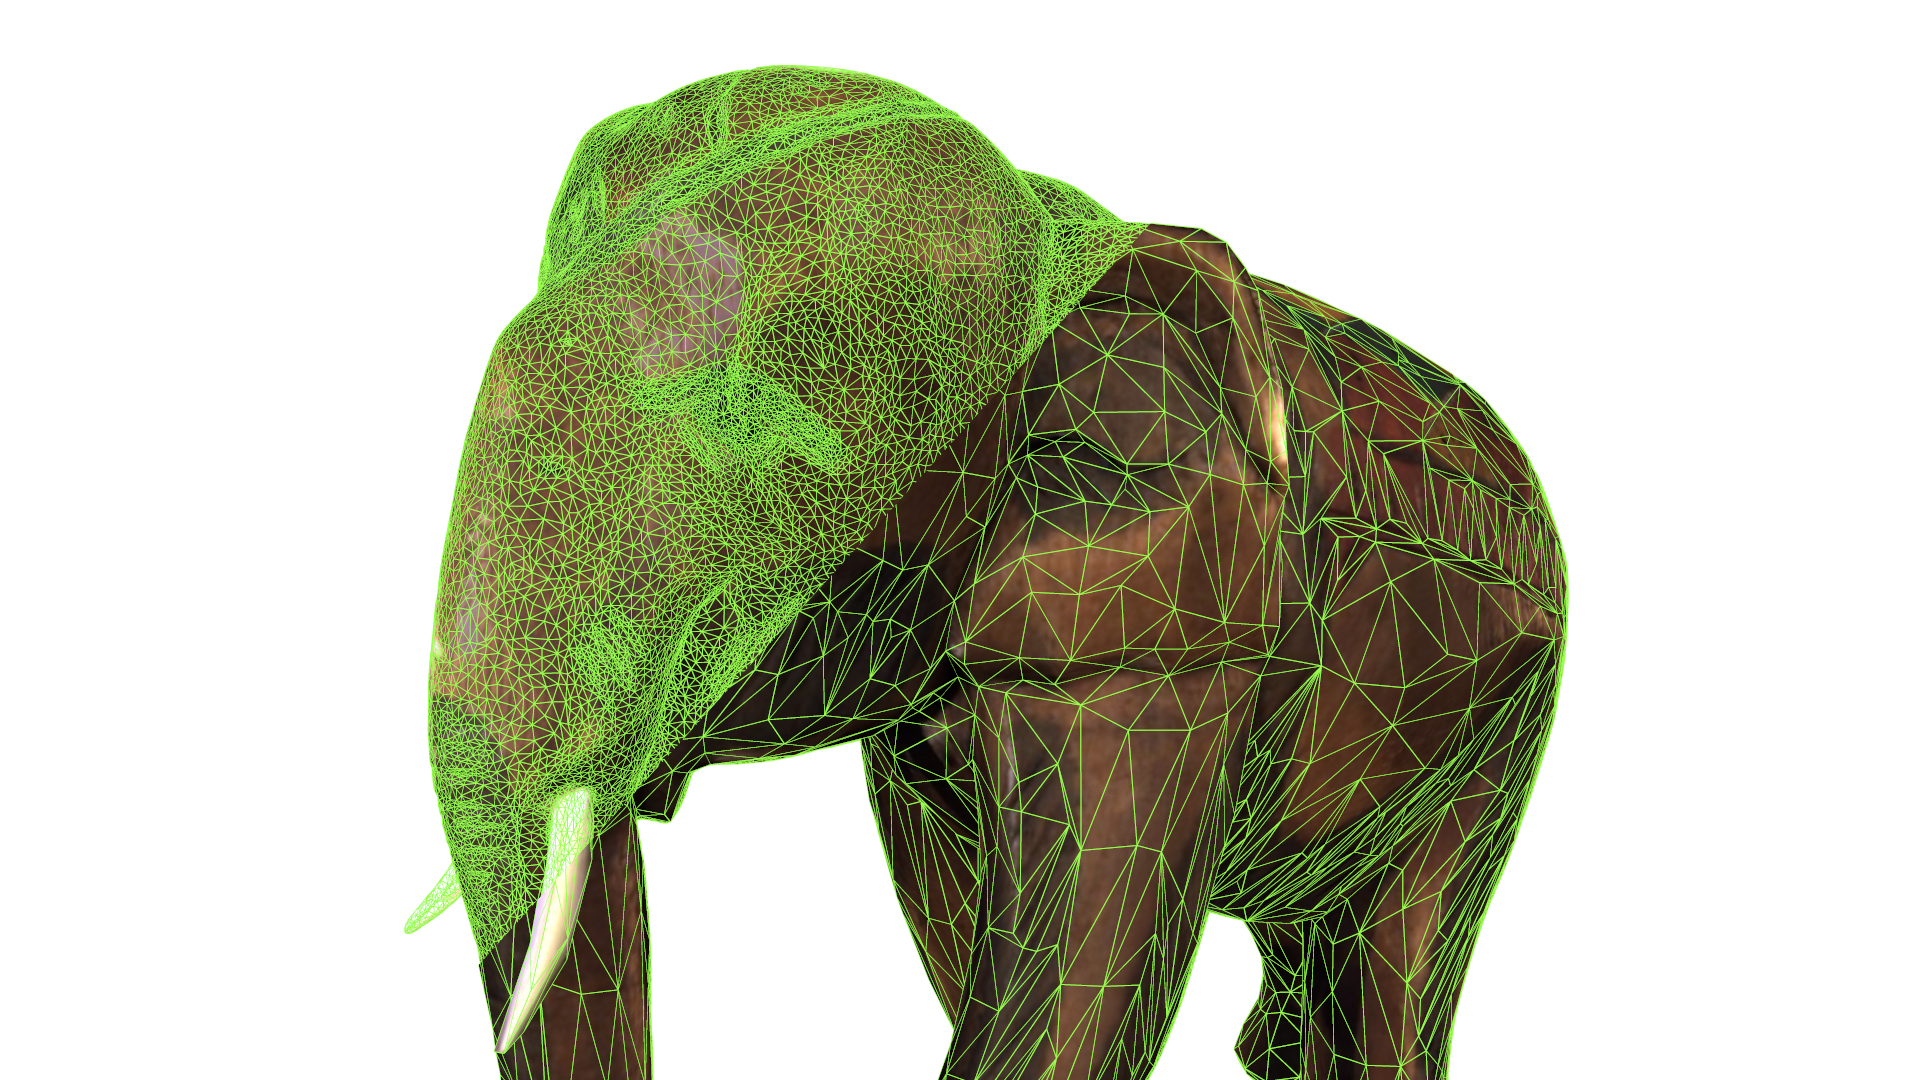
The model's data, consisting of a single color texture and mesh, now only makes up 3.25 MB, as opposed to more than 30 MB in the input, and it still looks almost identical.
However, in order to obtain the best possible results for this use case, there are a few things that can be improved by tweaking the settings a bit, and this is exactly what we will do now.
Since many modeling tools and other software packages use a z-axis pointing upwards, RapidCompact CLI has a special setting to rotate data accordingly during import. This setting is entitled import:rotateZUp, and it is set to false by default. We could now simply change that setting using the command line. However, as we'll change other settings later as well, and since we'll possibly want to apply the same process to other 3D models from the same source, it seems worth to create a config file and adapt the settings there. To create a config file with default settings, now use the following command within your working directory:
rpdx --write_config
This will create a JSON file (rpd_config.json) with default values for all available settings. We can now simply modify the ones we want to change and leave the other ones untouched. If a setting is not specified within the config file, RapidCompact will use the corresponding default value for it. Therefore, we can now go ahead and safely remove all the settings except for the ones to be used within this tutorial. Change the content of the config file to the following (note the true) and save it:
    {
      "import:rotateZUp": true
    }
For convenience, RapidCompact CLI searches the current directory for a config file named rpd_config.json (if you want to import one with a different name, or from elsewhere, use the --read_config command). This means we can obtain the modified result, with correct orientation, by simply running the original command again, knowing that RapidCompact CLI will pick up the config file and read and apply the rotation setting:
rpdx -i CHD-Elephant.obj -c -e result/CHD-Elephant_compact.obj
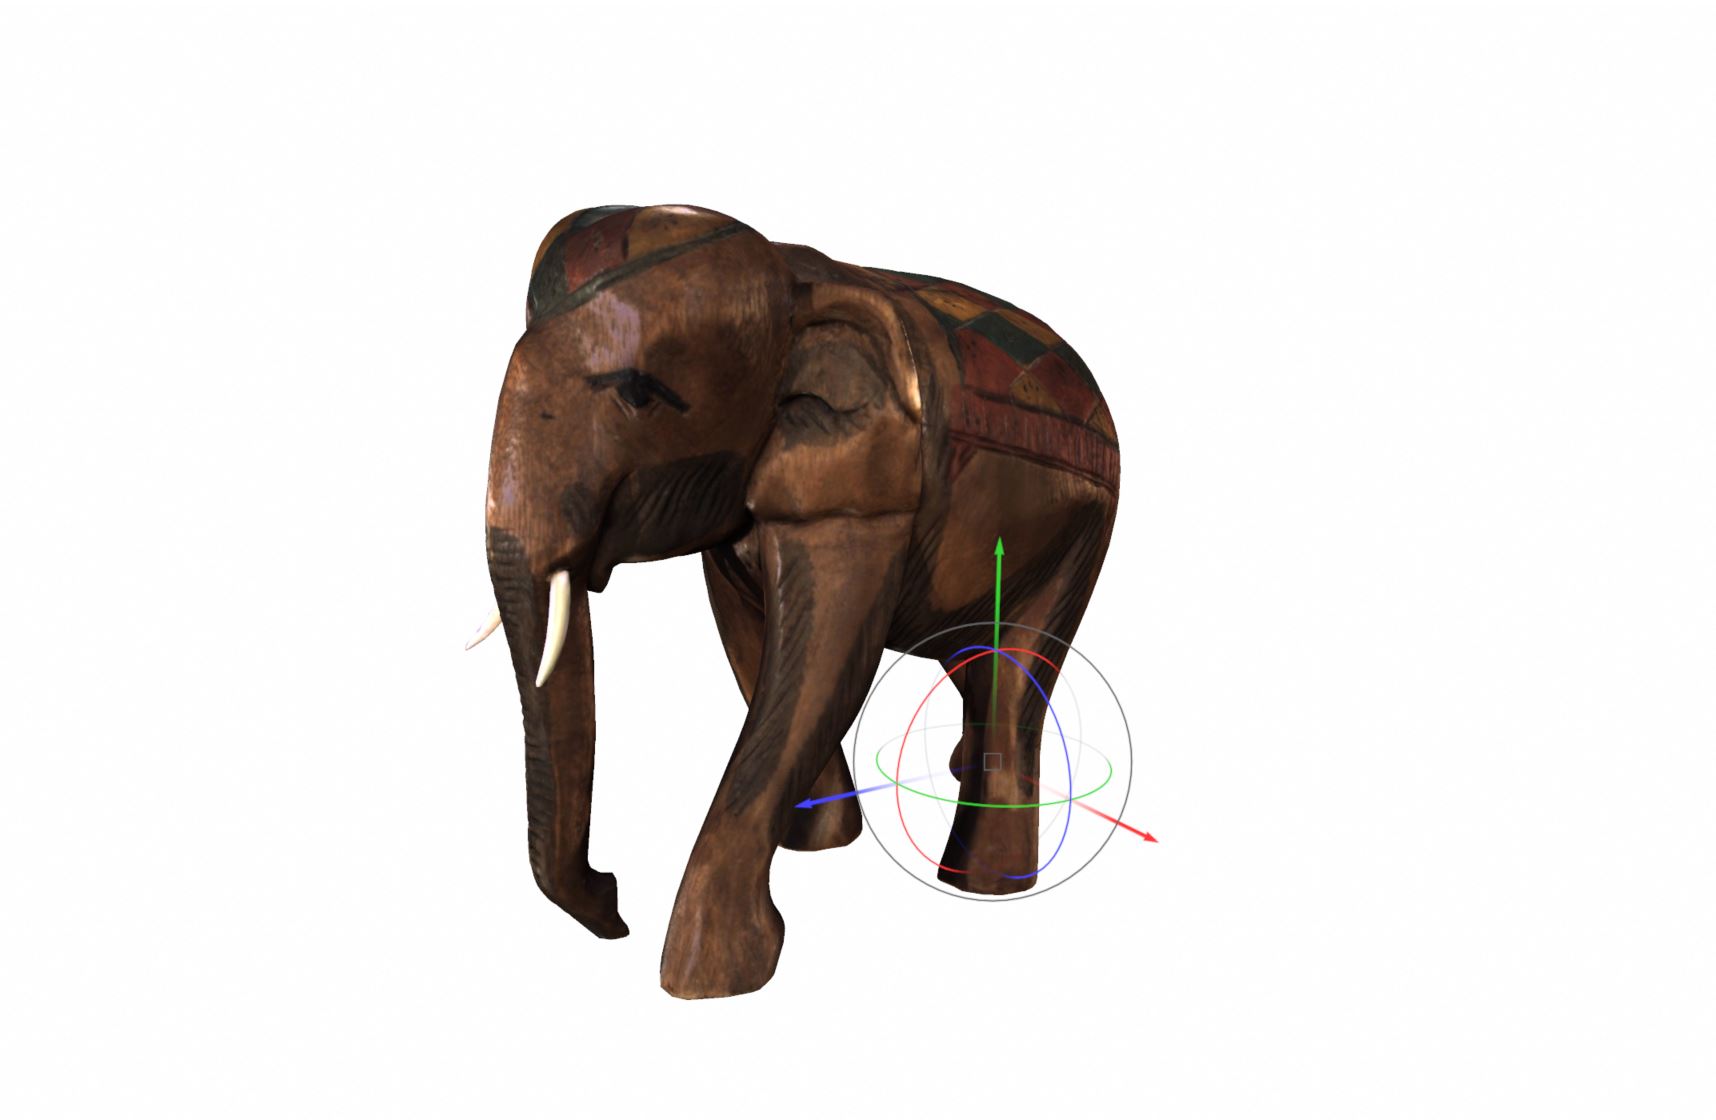
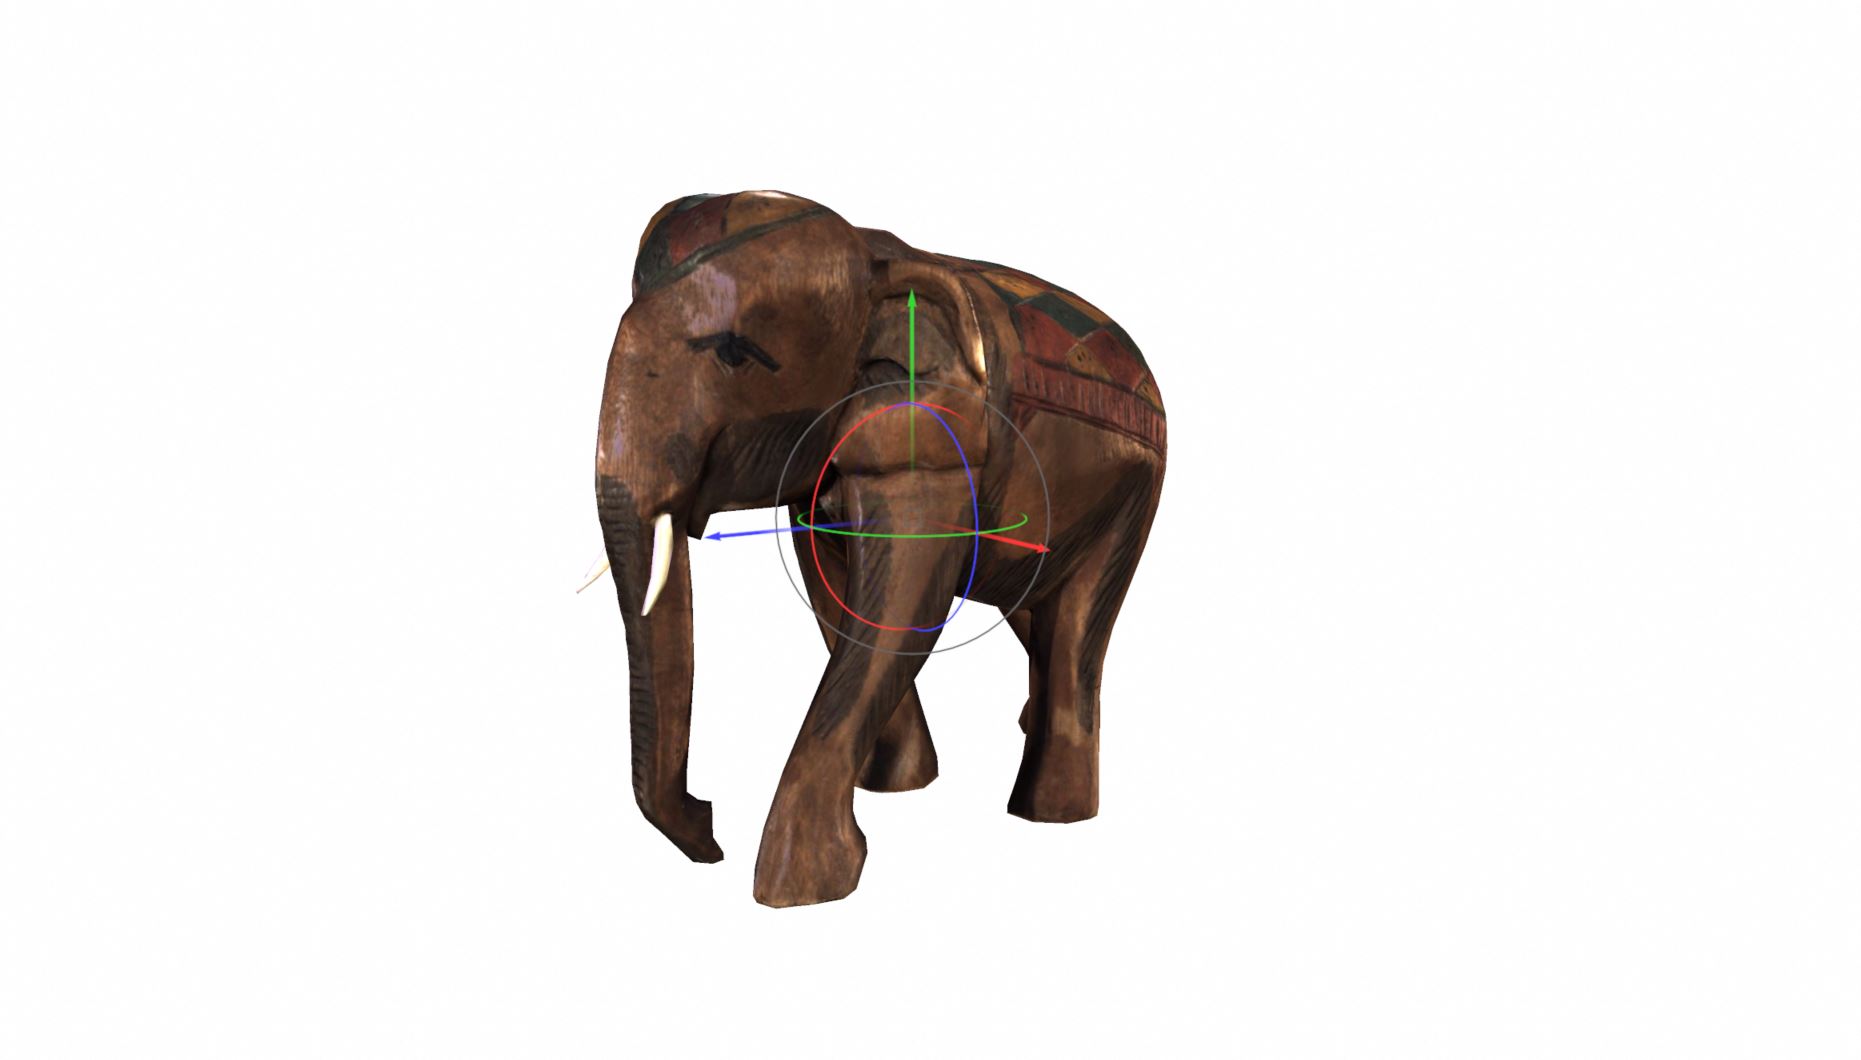
The optimized model should now be properly rotated:
    {
      "import:rotateZUp"   : true,
      "export:centerModel" : true
    }
You may have noticed that the output directory for the compact version of the model does not only contain a color texture, but also a normal map. This normal map can be configured to be in tangent space (default) or to be in object space, or we can completely disable its generation. In this case, the elephant model's texture already contains lighting (see the highlights on the head and ears, for example). Therefore, depending on the rendering method, we may not want to use a normal map at all. To turn the generation of the normal map off for now, simply add the "baking:generateNormal" option to the config file and set it to false:
    {
      "import:rotateZUp"      : true,
      "export:centerModel"    : true,
      "baking:generateNormal" : false
    }
If you like, add this setting, delete the contents of the output folder and re-run the optimization to convince yourself that no normal map will be generated any more. In the opposite case, when we want a 3D model to be re-lighted during real-time rendering, it will of course make sense to bake a normal map. In addition, one may also want to have an ambient occlusion map or a displacement map, and all of these can be baked using RapidCompact CLI, using the corresponding settings. For now, let's continue to further optimize this model!
It could be that the default mesh resolution of 20K faces will not be exactly what we want for our application. For example, we could possibly have enough bandwidth and rendering power to support more faces, or we may want even less. To generate a very compact version with 4K faces instead, we can simply change the corresponding parameter decimation:defaultTarget inside our the config file:
    {
      "import:rotateZUp"         : true,
      "export:centerModel"       : true,
      "baking:generateNormal"    : false,
      "decimation:defaultTarget" : "f:4000"
    }
Using the respective setting, we can define different targets for the compact command, including the ones that affect mesh decimation only (number or percentage of vertices or faces), as well as a special megabyte target, which we'll discuss within the next section of this tutorial. Let's then generate a version with 4K faces now, using the above settings. We will name it differently, so we can compare the new result to the previous one (which was using the default resolution):
rpdx -i CHD-Elephant.obj -c -e result-4K/CHD-Elephant-4K.obj
As an alternative to the decimation:defaultTarget setting, it is possible to specify another target value directly in the commandline right behind the -c command. The commands could look similar to this:
rpdx -i CHD-Elephant.obj -c f:4000 -e result-4K/CHD-Elephant-4K.obj
Here's a side-by-side comparison of the elephant's head at 20K faces (left) and 4K faces (right):

As can be seen, RapidCompact does a good job in making most of the given budget - at a first glance, the low-resolution version looks almost identical. However, some details are getting lost, such as the slightly rounded tips of the elephant's teeth, which became more sharply pointed tips in the reduced version on the right. Similar to the resolution of the mesh geometry, the desired texture resolution can be configured for each map, using the corresponding settings. Finally, the file format for texture maps, which can be configured as well, will also influence quality and compactness of the image data (for example, using JPEG provides really compact images, but the format is not loss-free, in contrast to PNG).
Instead of the 2.63 MB of the 20K OBJ version (no normal map), the new directory for the 4K OBJ version is only 978 KB in size. Speaking of filesize, RapidCompact provides a usefule feature for selecting target values, which we will discuss within the next section.
Especially in the context of Web-based 3D applications, working with bandwidth budgets and hence limiting filesize is pretty common. With RapidCompact, it is possible to specify a megabyte (mb) target value following the compact command. It could for example look similar to this:
rpdx -i CHD-Elephant.obj -c 2mb -e result-2mb.glb
Textures and polygon count will be automatically adapted to the file size specified in the command. Currently, this feature is only available for glb export, the binary file format version of glTF. You can find out more about glTF and Web-ready HTML export within the respective tutorial. Note that the megabyte target is not 100% exact. Instead, RapidCompact will try to find a suitable configuration for mesh and texture resolution that keeps the size of the result slightly below the given number of MBs.
In some cases, one optimized version of an input file is not enough. Various workflows make use of several level-of-detail (LOD) representations of meshes, where the one to visualize is usually dynamically selected during runtime, depending on the user's point of view in the 3D world. To achieve multiple outputs with RapidCompact CLI, it is possible to just add up commands and alter target values or settings for each single compact step. Once such an extensive command is set up, you can automatically fill in specific values or input files in order to create a fully-automated process that creates multiple LODs with a single call to RapidCompact CLI.
The following lines make use of the compact command -c for specifying a target face or vertex count, while the --pop command clears the last LOD from the stack after each operation, allowing RapidCompact to start over with the next one, while the original model is still on the stack and hence doesn't have to be loaded again. Let's use the following command to generate 3 different LODs with 20K, 10K and 5K faces:
rpdx -i CHD-Elephant.obj -c f:20000 -e lod00.glb --pop -c f:10000 -e lod01.glb --pop -c f:5000 -e lod02.glb
Here's a side-by-side comparison of the elephant's LODs at 20K faces (left), 10K faces (middle) and 5K faces (right):

Congratulations - you have mastered the tutorial on the compact command! Here's a quick summary of the settings that we used:
| Name | Type | Default | Valid Range | Quick Description |
|---|---|---|---|---|
| import:rotateZUp | Flag | false | {true, false} | turns rotation to z-axis pointing upwards on/off |
| export:centerModel | Flag | false | {true, false} | centers the model around the coordinate origin before export |
| baking:generateNormal | Flag | true | {true, false} | enables/disables the generation of normal maps |
| decimation:defaultTarget | String | f:20000 | target parameter for decimation during compact |
The following tutorials show how to improve the results even further,
and how to use different commands for other 3D optimization tasks, for image rendering, and for deployment to different kinds of 3D applications.