Within this tutorial, we are going to use RapidCompact CLI to remove invisible interior parts of a mesh. If the input model has a high amount of interior geometry, which for example CAD files often have, the resulting model will be significantly smaller than the original file, but visually identical when viewed from the outside.
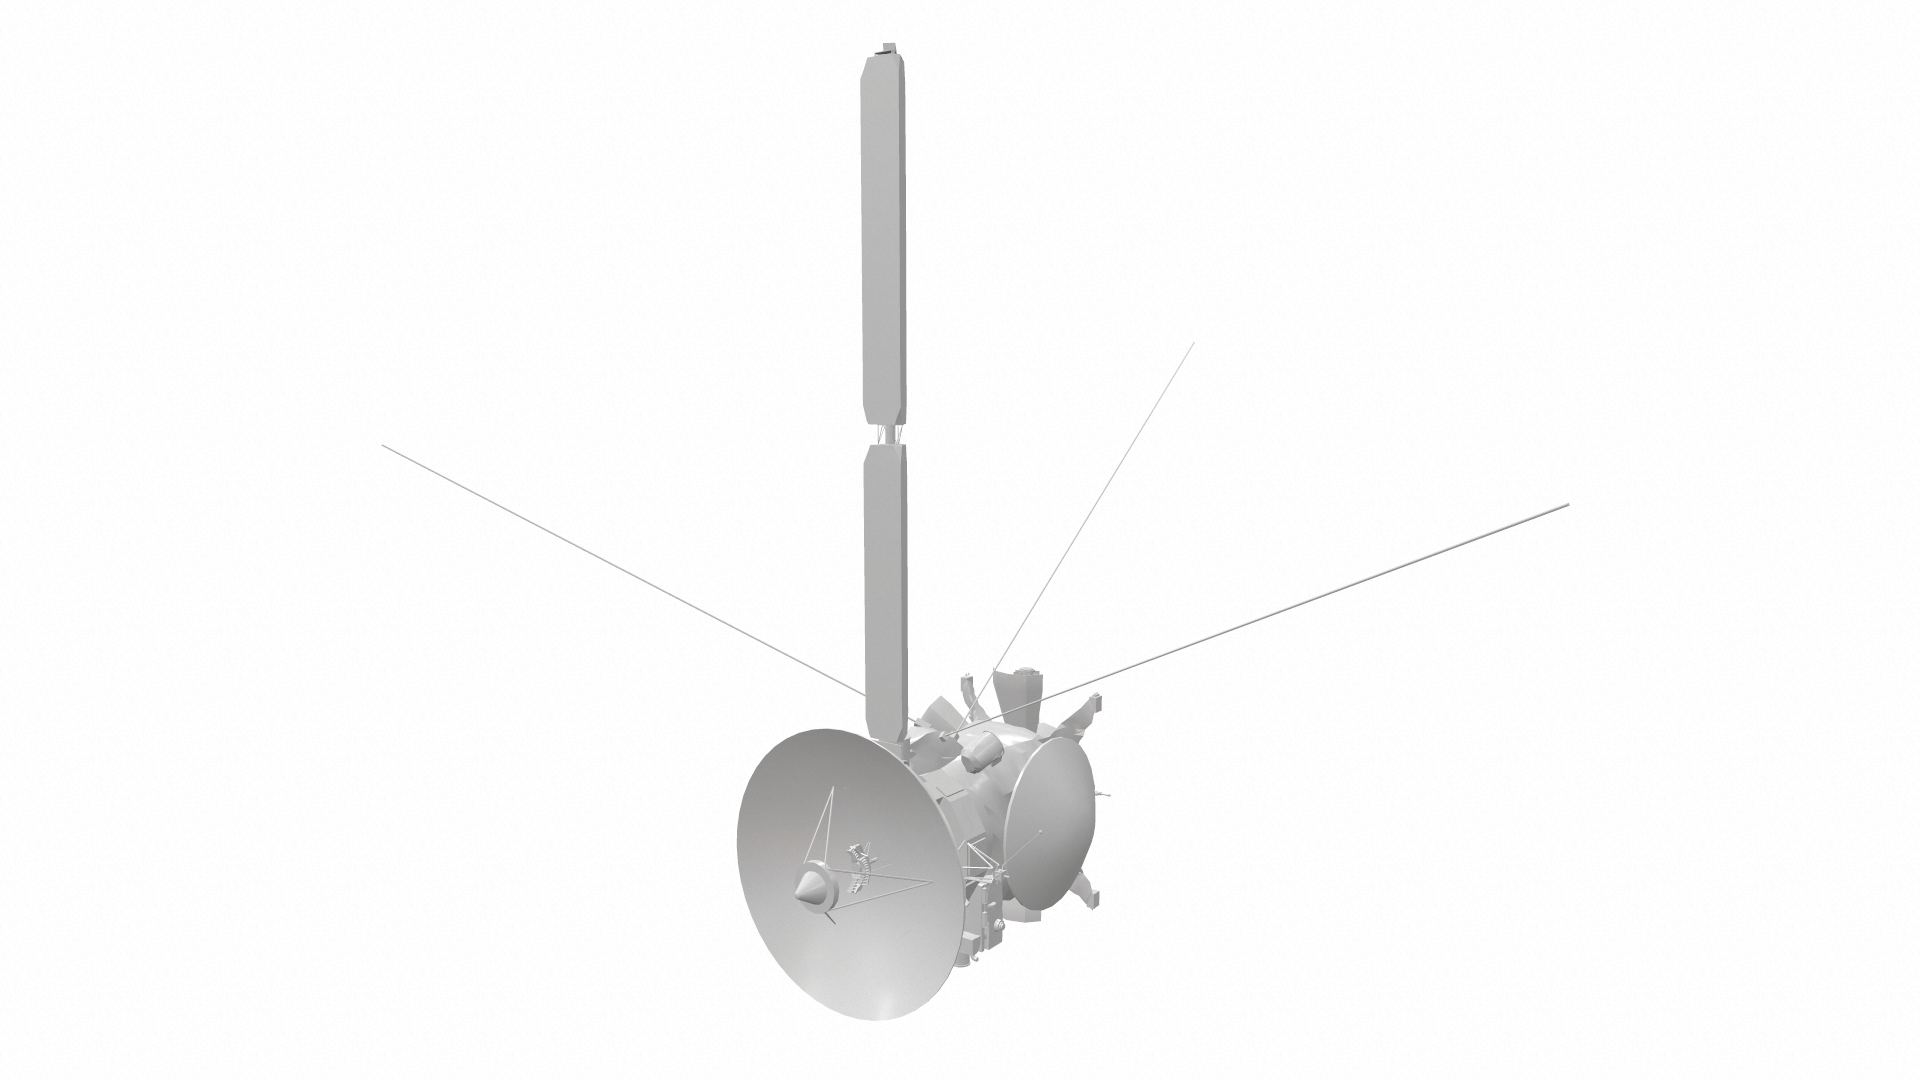
To get started with this tutorial, we will need to have a 3D model to play with. Please go ahead and download the cassini model (courtesy of NASA), which we will use throughout the tutorial, here. Initially, when loaded into some 3D viewing tool, the data should look like this:

To apply the culling of interior parts, which will reduce the mesh further, apply now the following command on your command line (for example, Windows PowerShell):
rpdx -i cassini.stl --remove_invisible_geometry -e result/cassini.stl
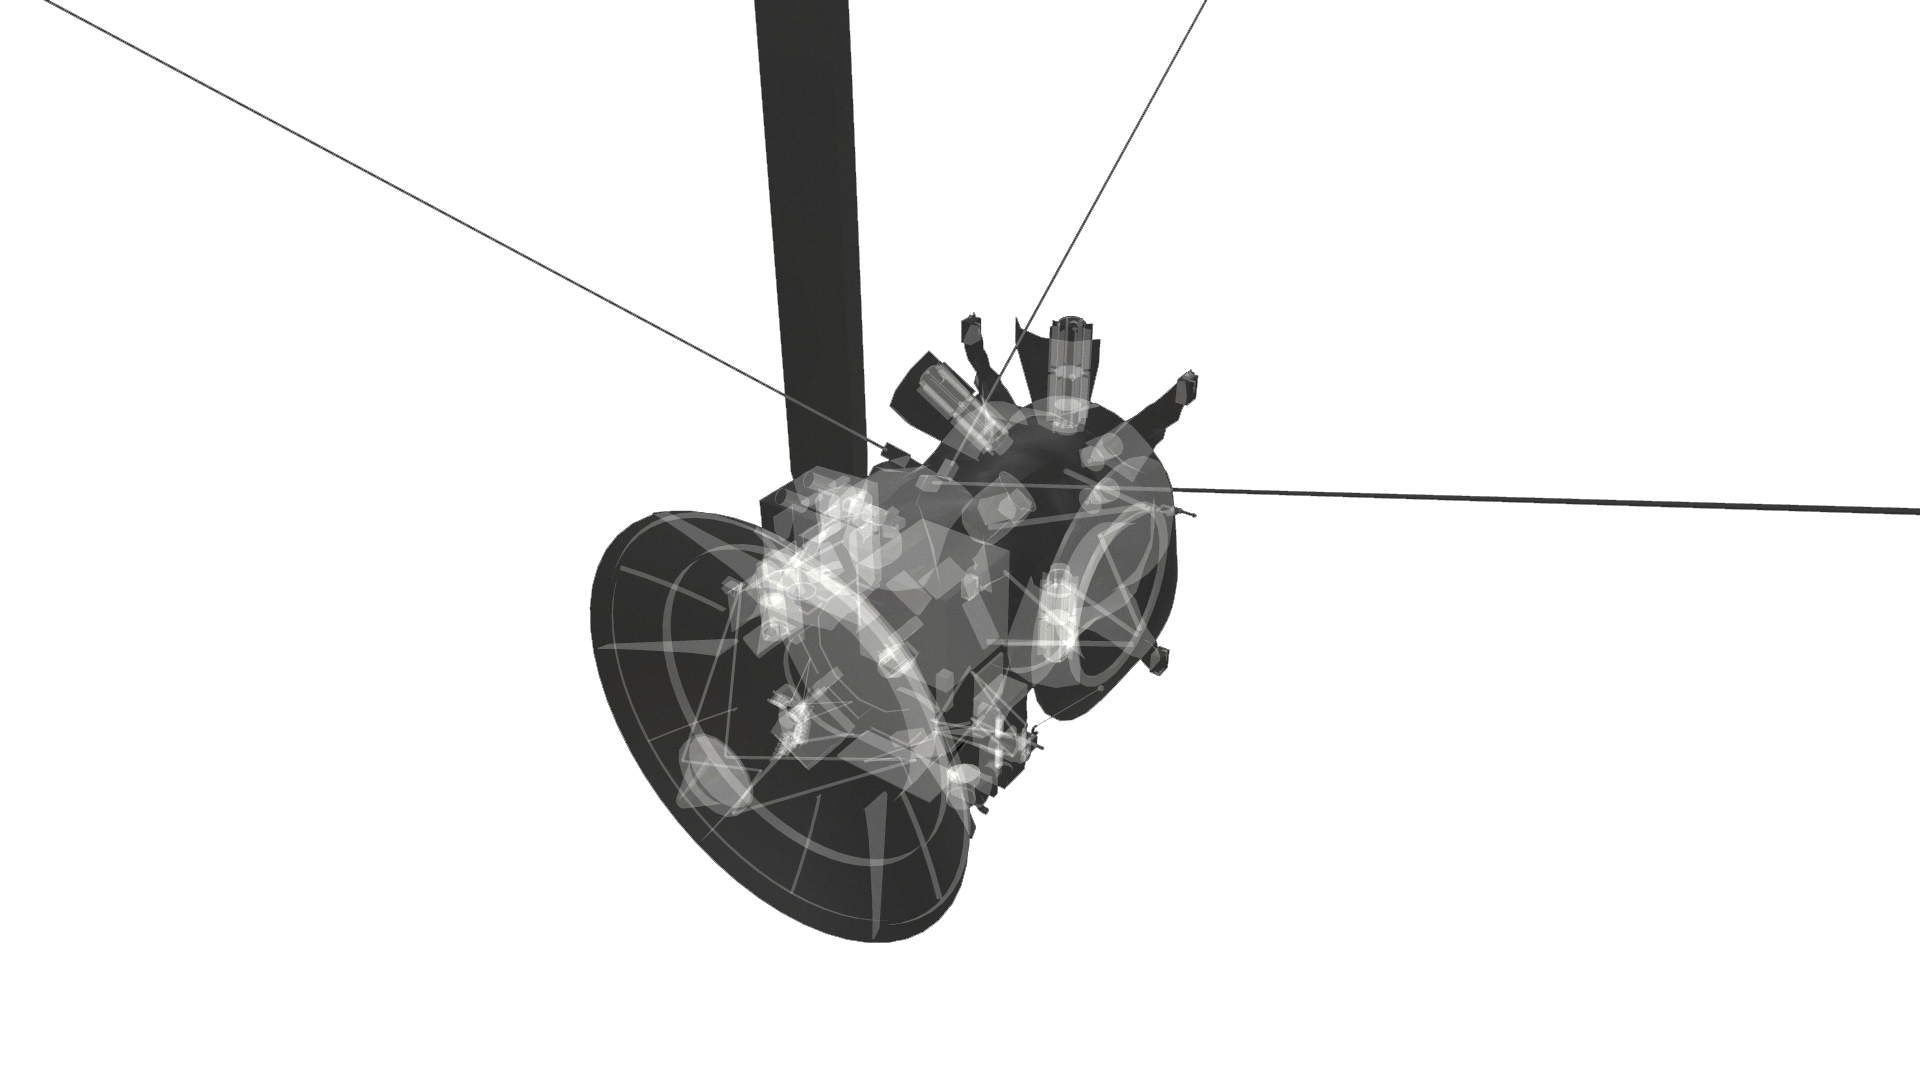
This will create a new directory called result, and the resulting STL file will be stored there. As you can see by checking the size of the resulting model, the optimized data set is a lot smaller than the original data. With an x-ray rendering, we can see the difference in the 3D mesh and interior geometry before and after the optimization. This is how the original looks like:

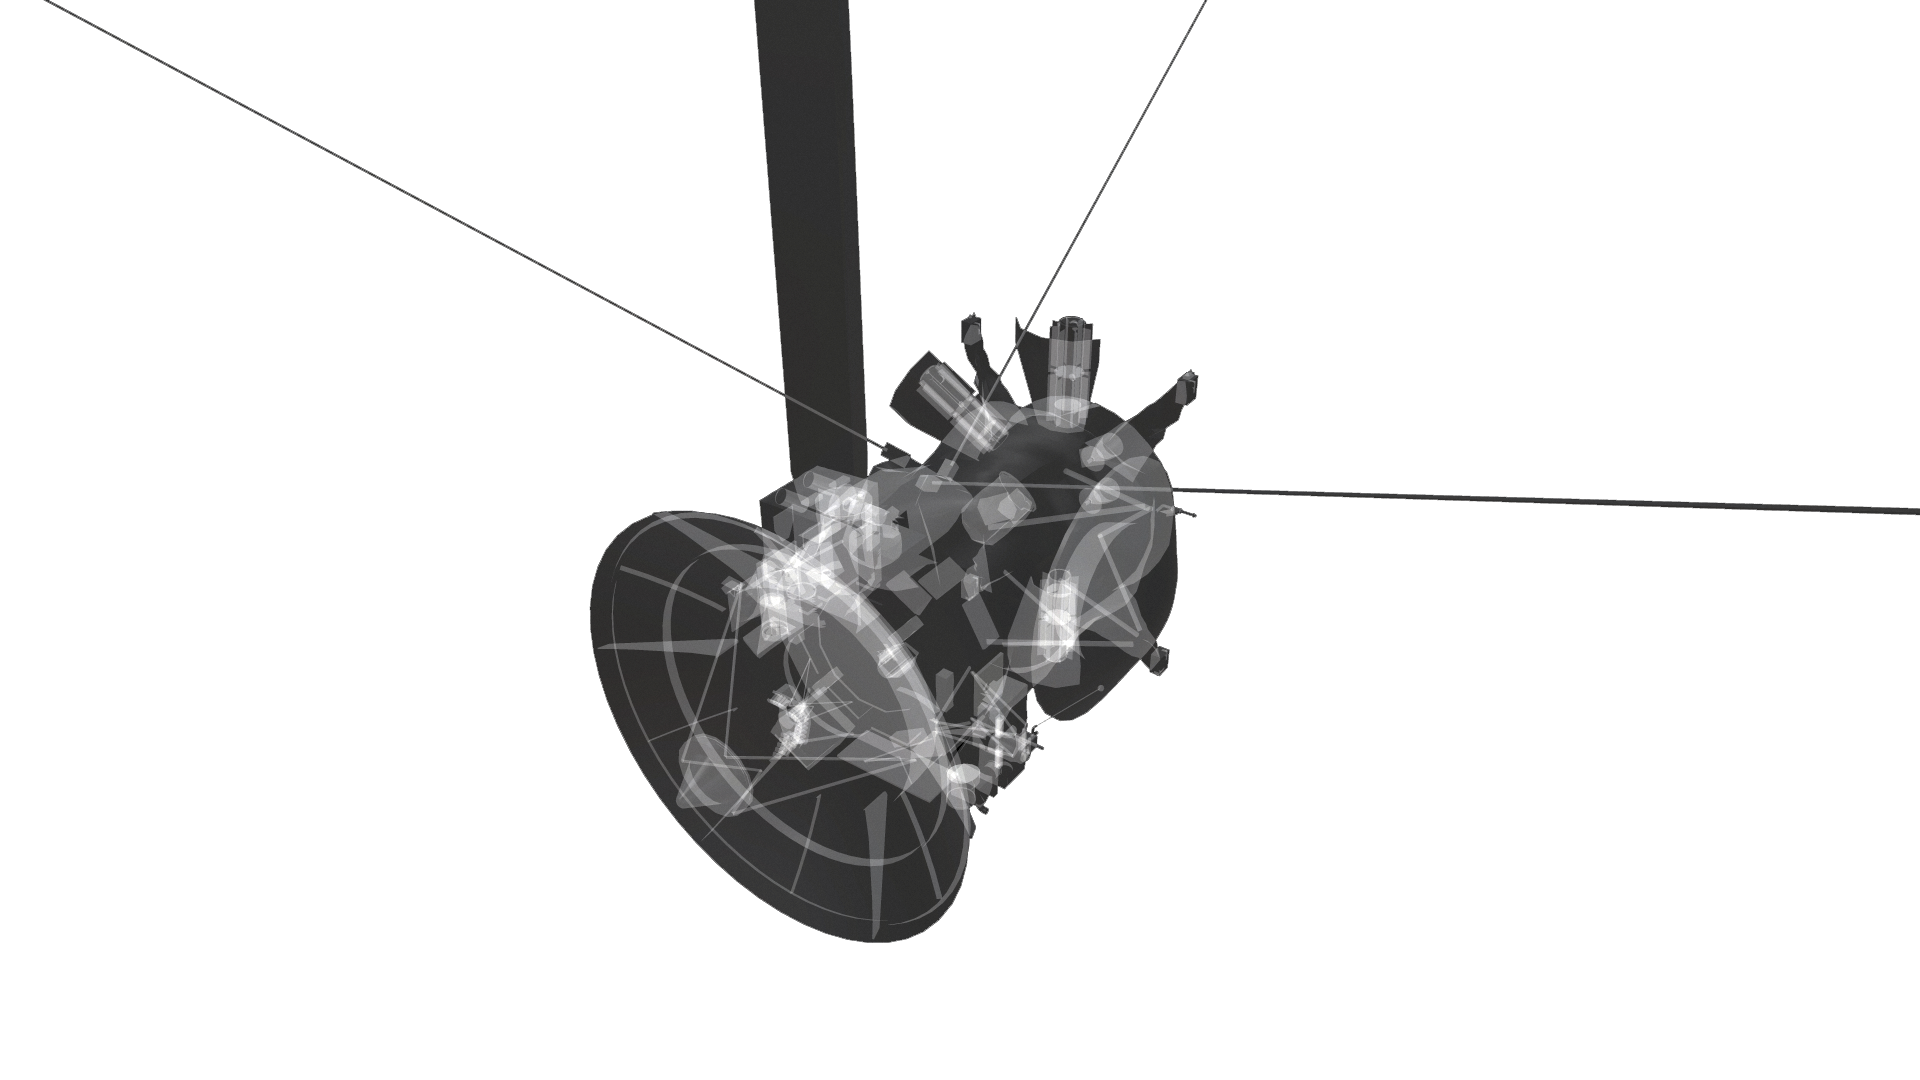
As you can see in the following view of the optimized model, the cassini model has some interior parts which can be removed to improve the overall polycount and thus filesize:

Note how the cube structure and other smaller interior parts were completely deleted, while other mesh-parts were partially removed.
Using the --remove_invisible_geometry command helps with optimizing the dataset further for visualization or purposes where the interior parts are not necessary. However, it is not a trivial decision when to use the operation together with different flattening modes or other mesh optimizations, such as mesh decimation.
For example, it is possible to use the command directly on the input mesh, before applying decimation or flattening. If the input mesh contains several unconnected geometry nodes, removing the invisible geometry typically results in only a small ammount of deleted faces because the function checks each mesh individually. Therefore we could also decide to remove invisible geometry after the decimation or flattening of the mesh. The result will look similar to the output of --remove_invisible_geometry in previous versions of RapidCompact. An example command line could look like this:
rpdx -i cassini.stl --flatten --remove_invisible_geometry -e result/cassini_compact.stl
And here is the command for removing invisible geometry after optimizing the mesh:
rpdx -i cassini.stl --duplicate -d 20% --remove_invisible_geometry -u -b -e result/cassini_compact.stl
Instead of using the command to check for invisible geometry, it is also possible to use the functionality as a boolean setting (true/false) "compact:removeInvisibleGeometry":
rpdx -i cassini.stl -s compact:removeInvisibleGeometry true -c -e result/cassini.stl
rpdx -i cassini.stl -s compact:removeInvisibleGeometry true -c f:100% -e result/cassini.stl
This will create a new directory called result, and the resulting STL file will be stored there. The result will be similar with the very latest usage of the command version of the setting in the last section above. RapidCompact will perform the removal on the already decimated mesh but before cutting UVs.