Within this tutorial, we are going to use RapidCompact CLI to unwrap a 3D mesh. This means we will generate a 2D UV layout, which can then be used to texture the model, for example.
RapidCompact CLI has two settings that can be used to control the unwrapping process:
To get started with the unwrapping functionality of RapidCompact CLI, we will use a simple example mesh of Victor, which you can download here. Victor is a simple 3D bust of a character, a manifold 3D mesh that has three boundary loops: a large one at the neck, and two smaller ones for the holes that were left for the eyes.
In order to be successfully unwrapped, a 3D mesh must have only 2-manifold edges, which means that there may never be more than two faces connected to a single edge (otherwise, generating a non-overlapping 2D UV layout would be impossible). Furthermore, the mesh must not have handles - a simple counter-example would be a mug with a handle. Meshes with handles are also impossible to unwrap in 2D without overlaps, given that they are not cut. If you have a mesh that does not satisfy these constraints, you can still unwrap it using RapidCompact CLI, but you will need to use a segmentation step to automatically divide it into 2-manifold pieces. We will discuss this aspect later. For now, we will simply use the Victor example, which is already manifold and has no handles, and therefore does not need to be segmented, so we'll use segmentation parameters that effectively do not change the seams of the input mesh (-s segmentation:chartAngleDeg 360 -s segmentation:cutAngleDeg 180).
To generate a simple UV layout for Victor, use the following command line:
rpdx -s unwrapping:method fastConformal segmentation:chartAngleDeg 360 -s segmentation:cutAngleDeg 180 -i victor.obj -u -e victor-uv.obj
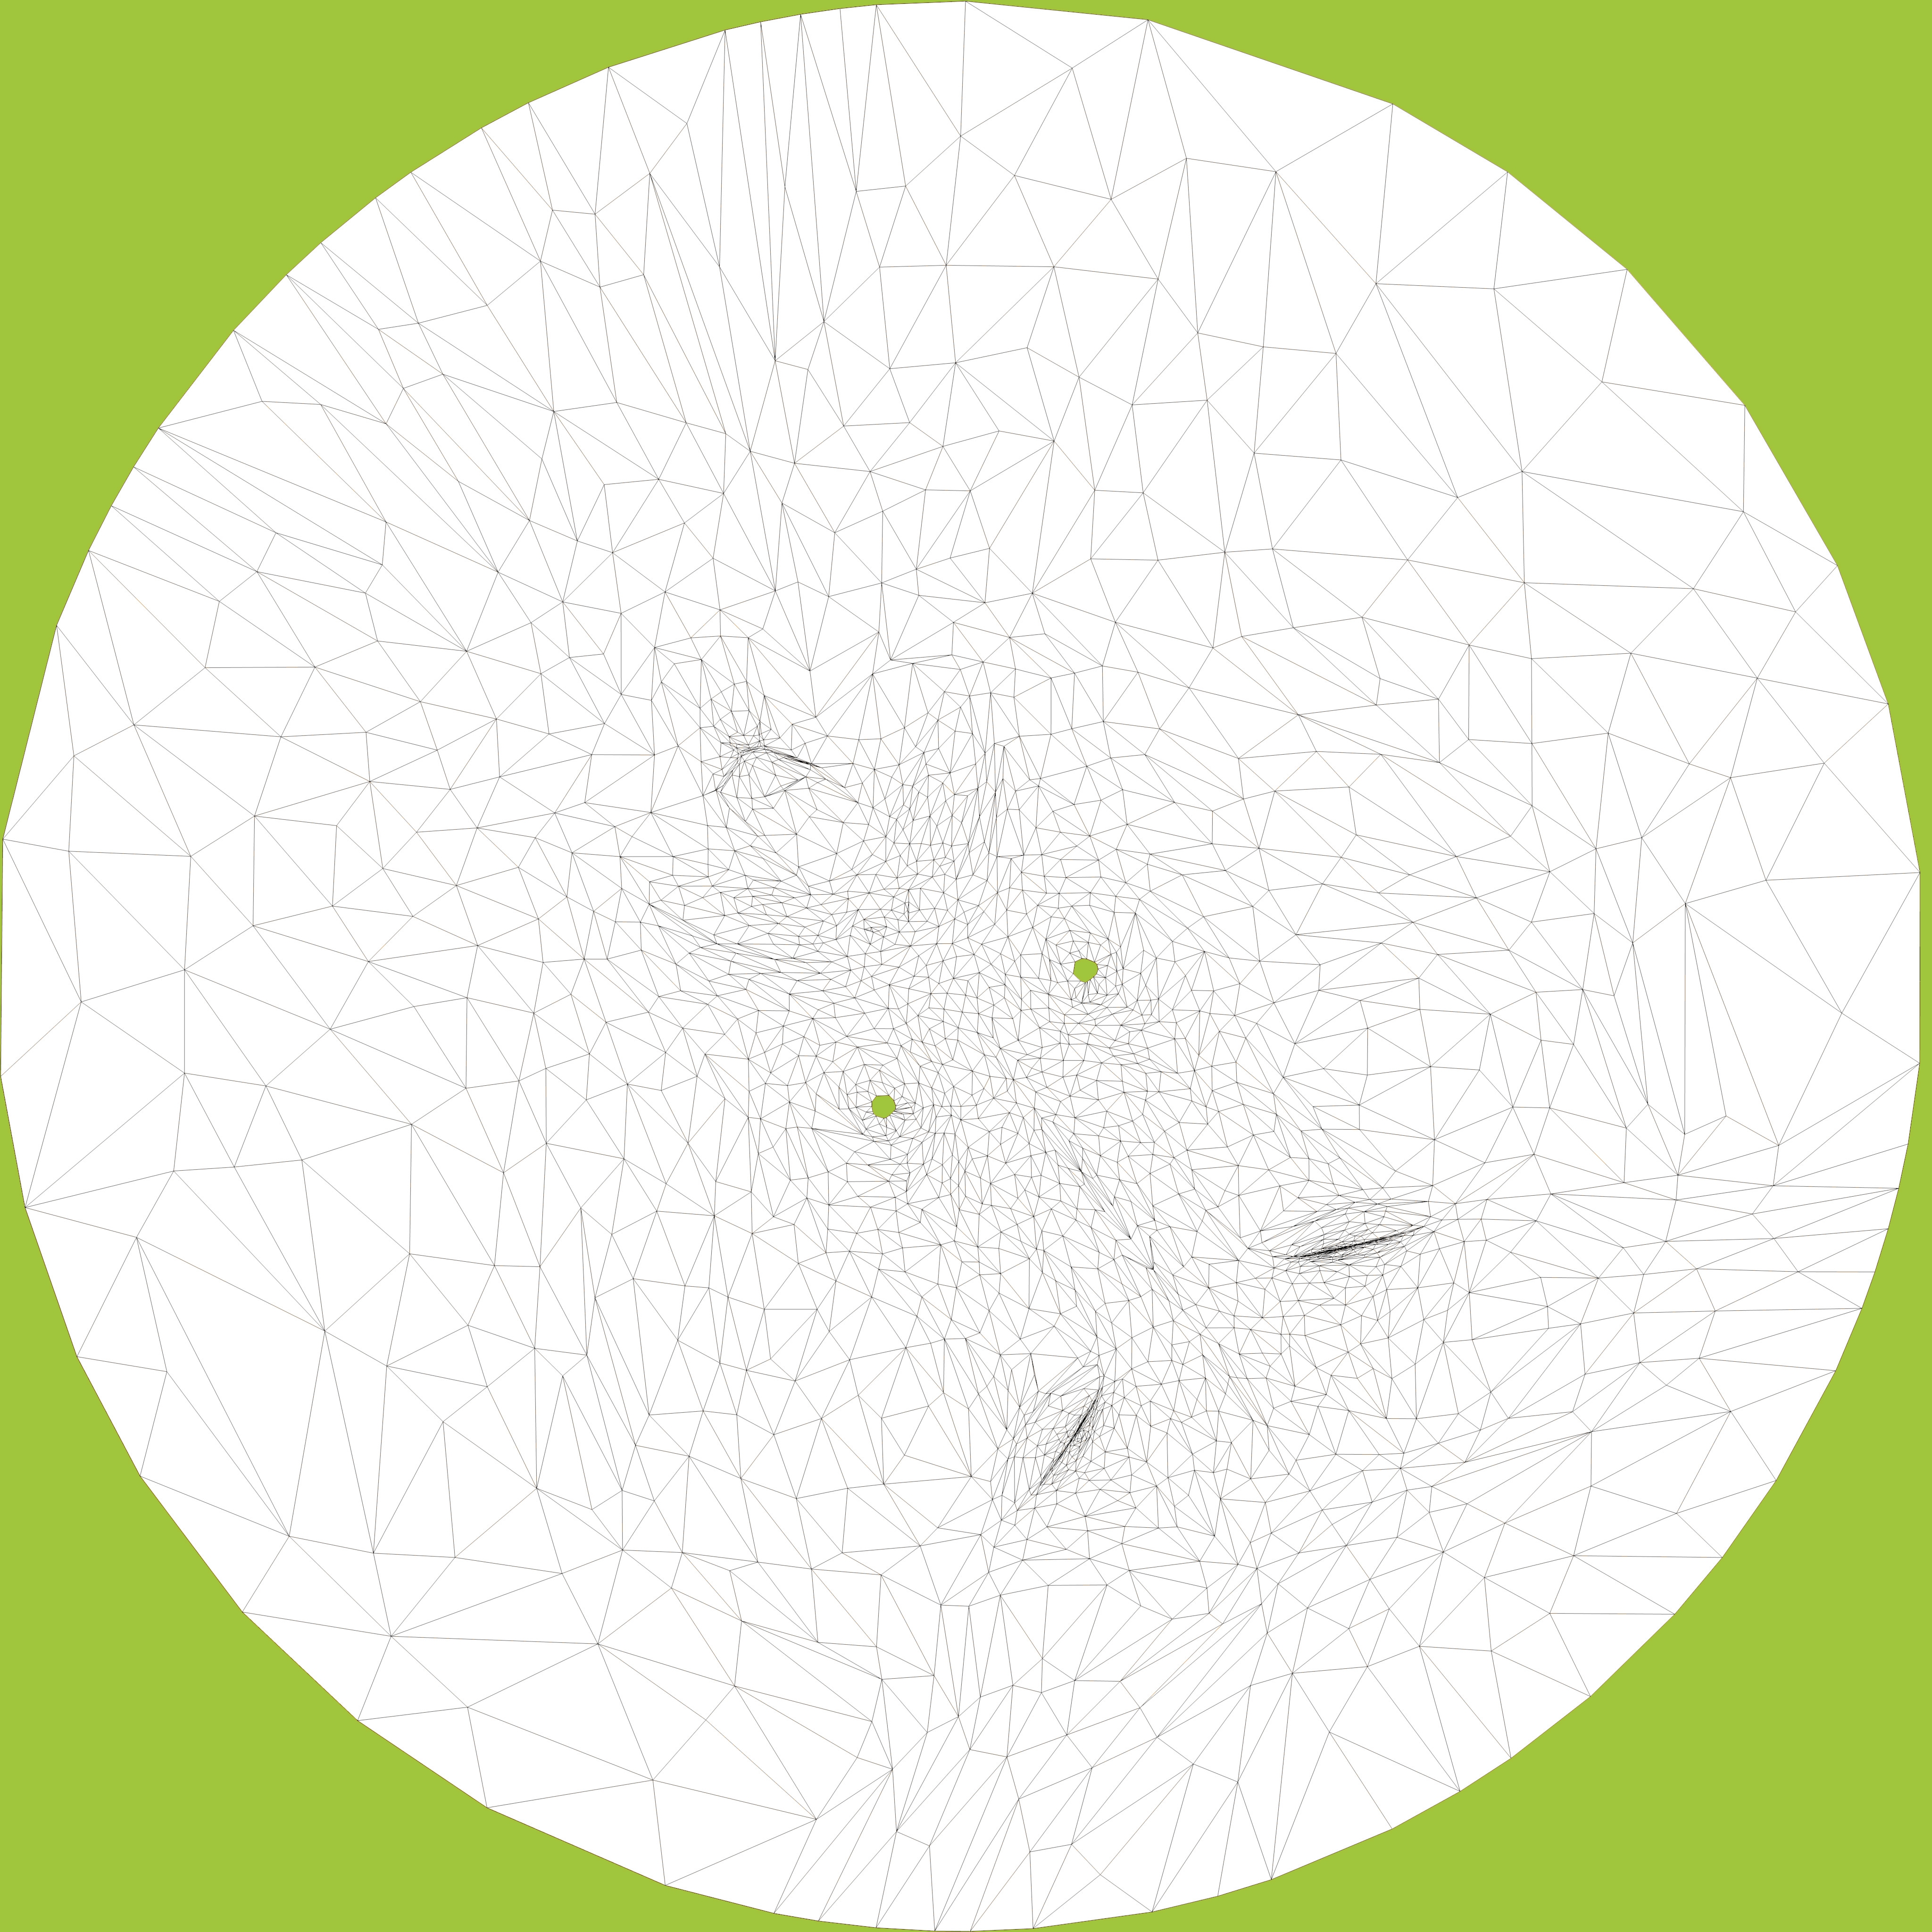
This command will generate an OBJ file entitled victor-uv.obj, containing the input mesh enriched with UV coordinates. There will be several islands in UV space, since this method will have produced some overlaps, and since the flag unwrapping:cutOverlappingPieces is enabled by default.
We will now turn overlap removal off and compare the results for all available methods. To visualize the stretch on the 3D surface, we will also assign a simple checkerboard texture. Try now the following command:
rpdx -s unwrapping:method fastConformal unwrapping:cutOverlappingPieces false -s segmentation:chartAngleDeg 360 -s segmentation:cutAngleDeg 180 -i victor.obj -u --set_checker_texture -e victor-uv.obj
This will produce a textured 3D mesh in OBJ format, which should look like the following:
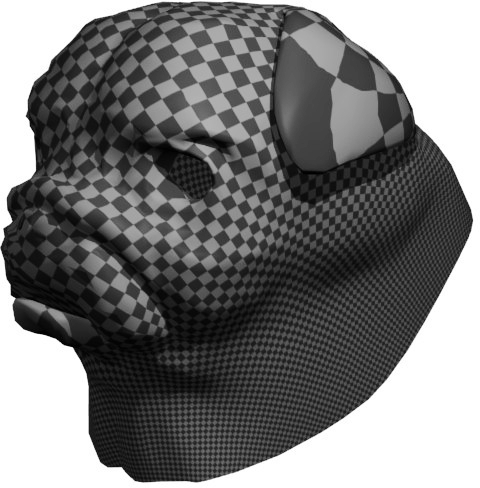
As you can see, the area stretch is relatively high around the ear region, for example. This is a natural consequence of two things. First, because of the protruded regions of the ears and mouth, the mesh is per se impossible to unwrap without large stretch. Second, the used method of RapidCompact CLI, fastConformal, will only control the stretch in angles, but not in areas. It therefore leads to large area distortions in this case. We can try to reduce the stretch in areas by using the new default method isometric:
rpdx -s unwrapping:method isometric -s unwrapping:cutOverlappingPieces false -s segmentation:chartAngleDeg 360 -s segmentation:cutAngleDeg 180 -i victor.obj -u --set_checker -e victor-uv.obj
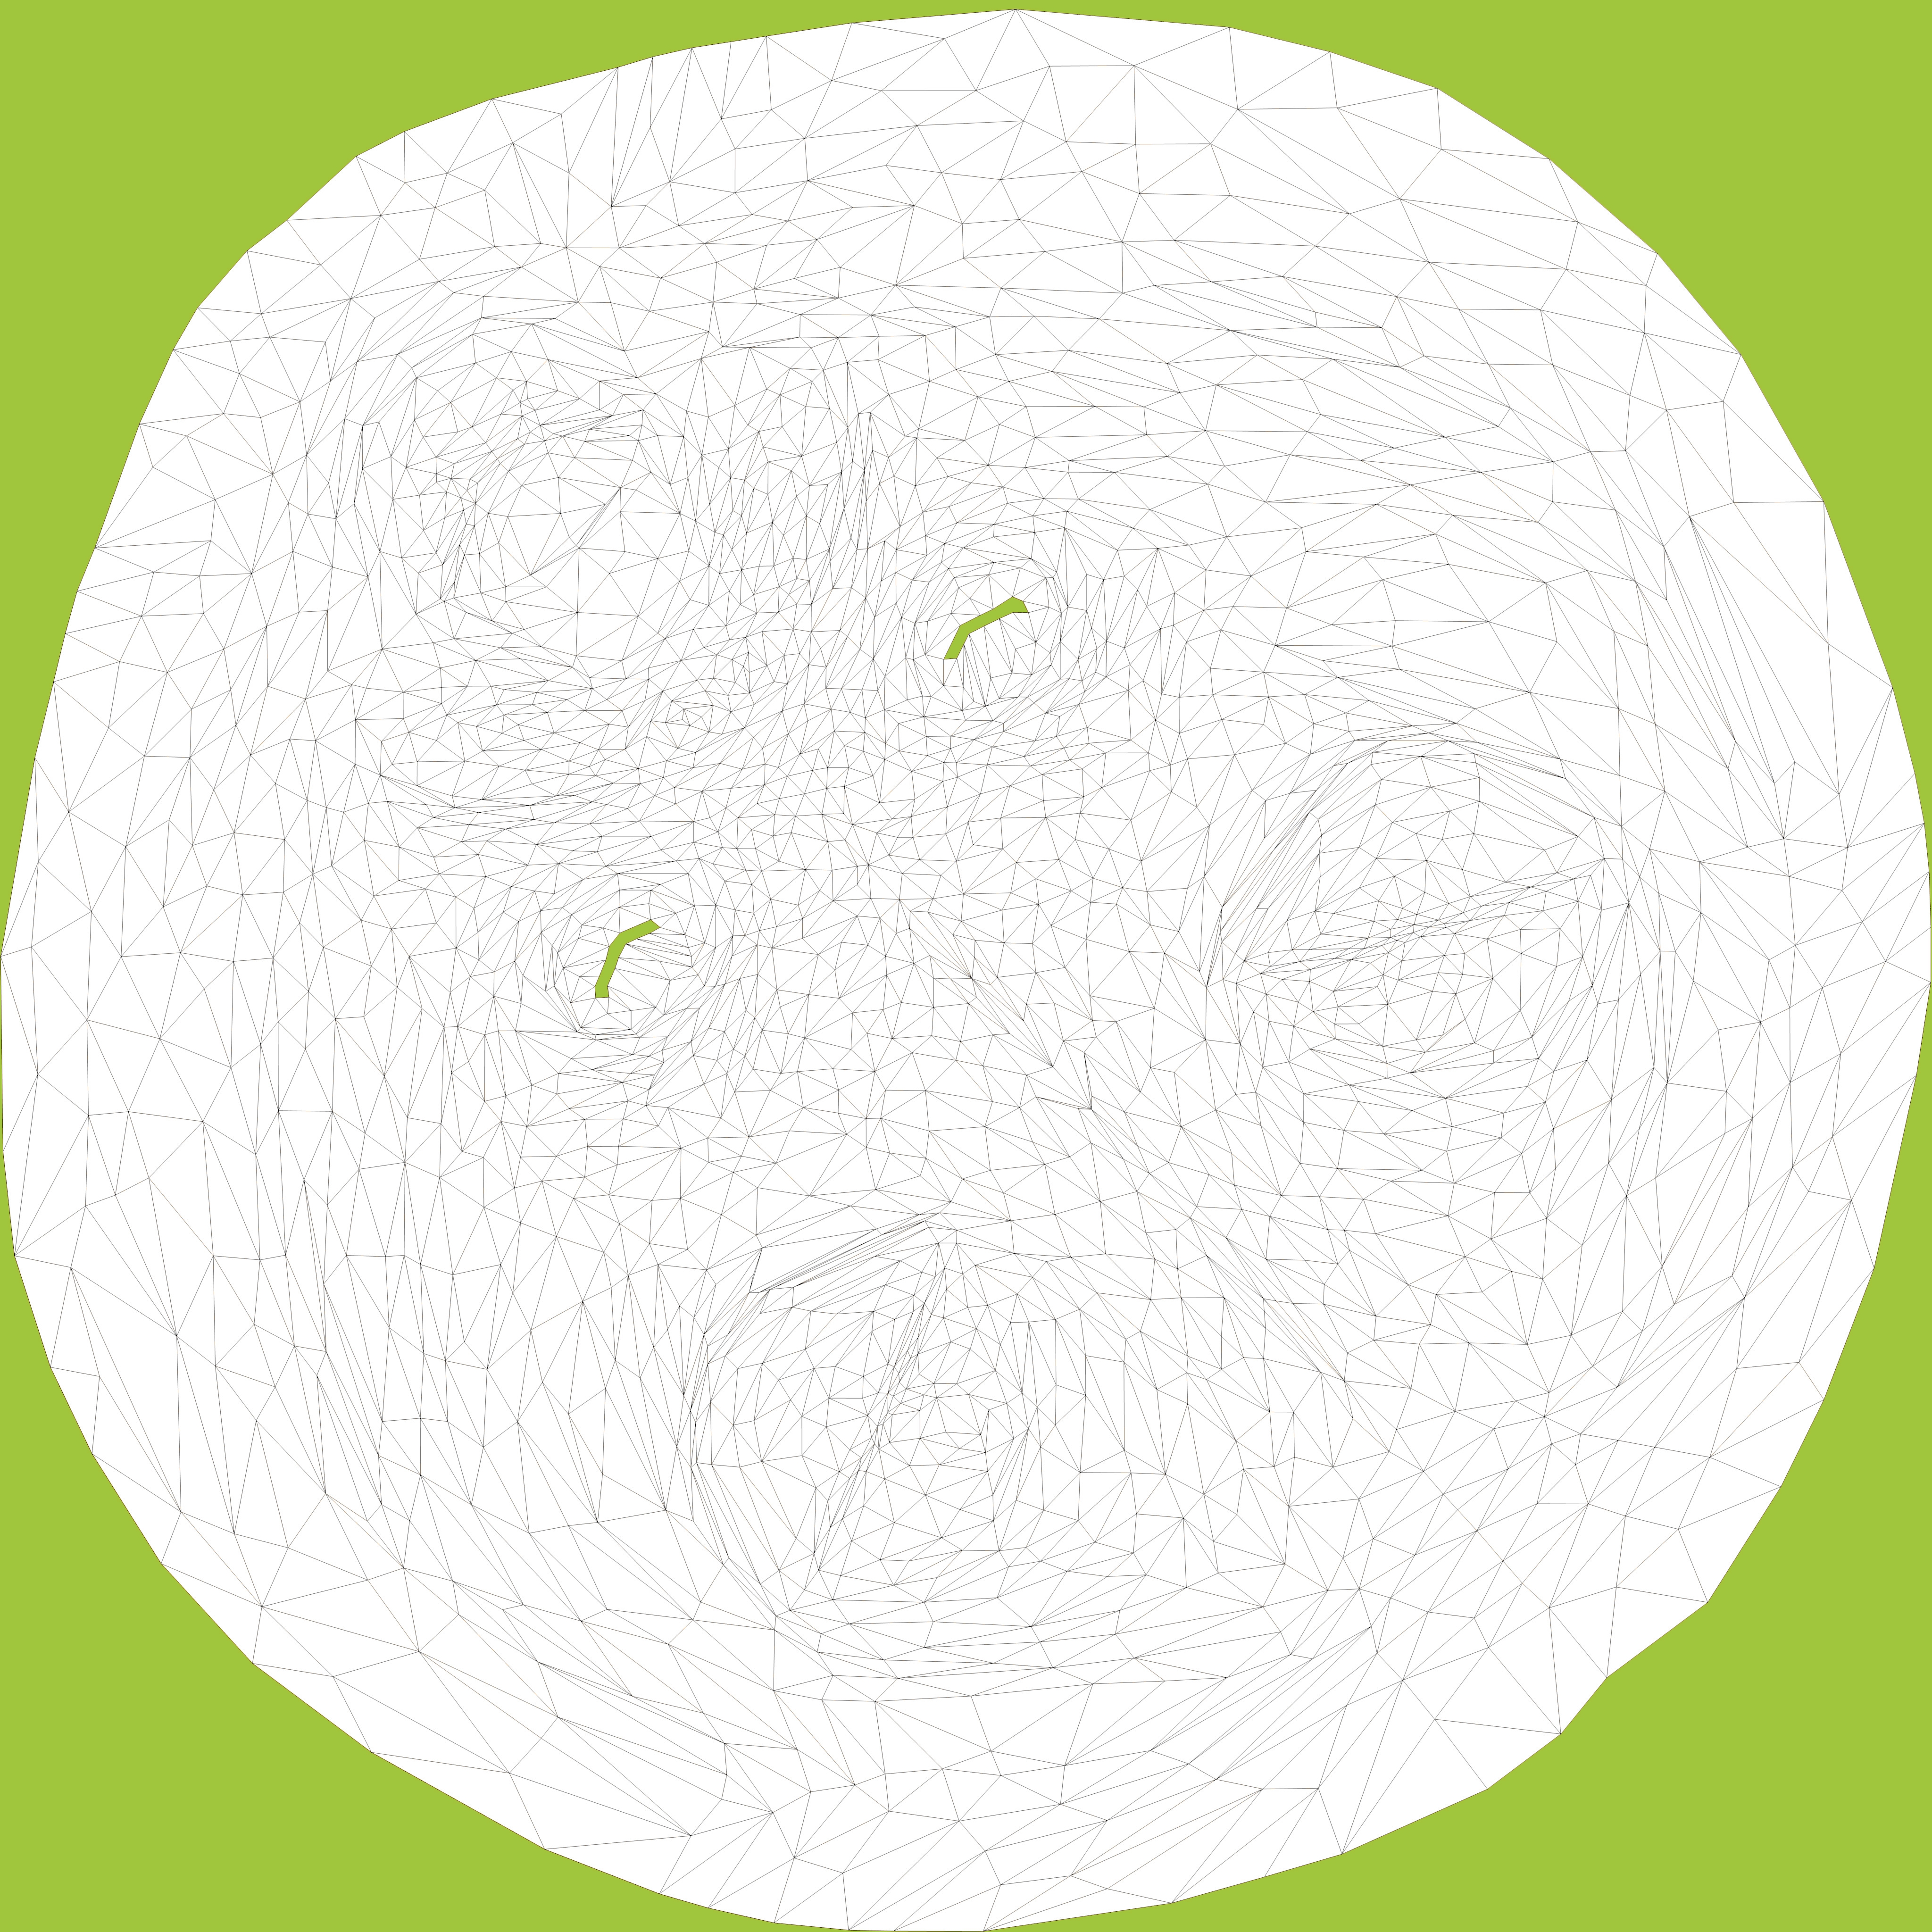
Note that you can also use a config file to control the values of the settings, instead of specifying them on the command line. The result created by the isometric method will look a bit more balanced, as the stretch is equally distributed to angles and areas:

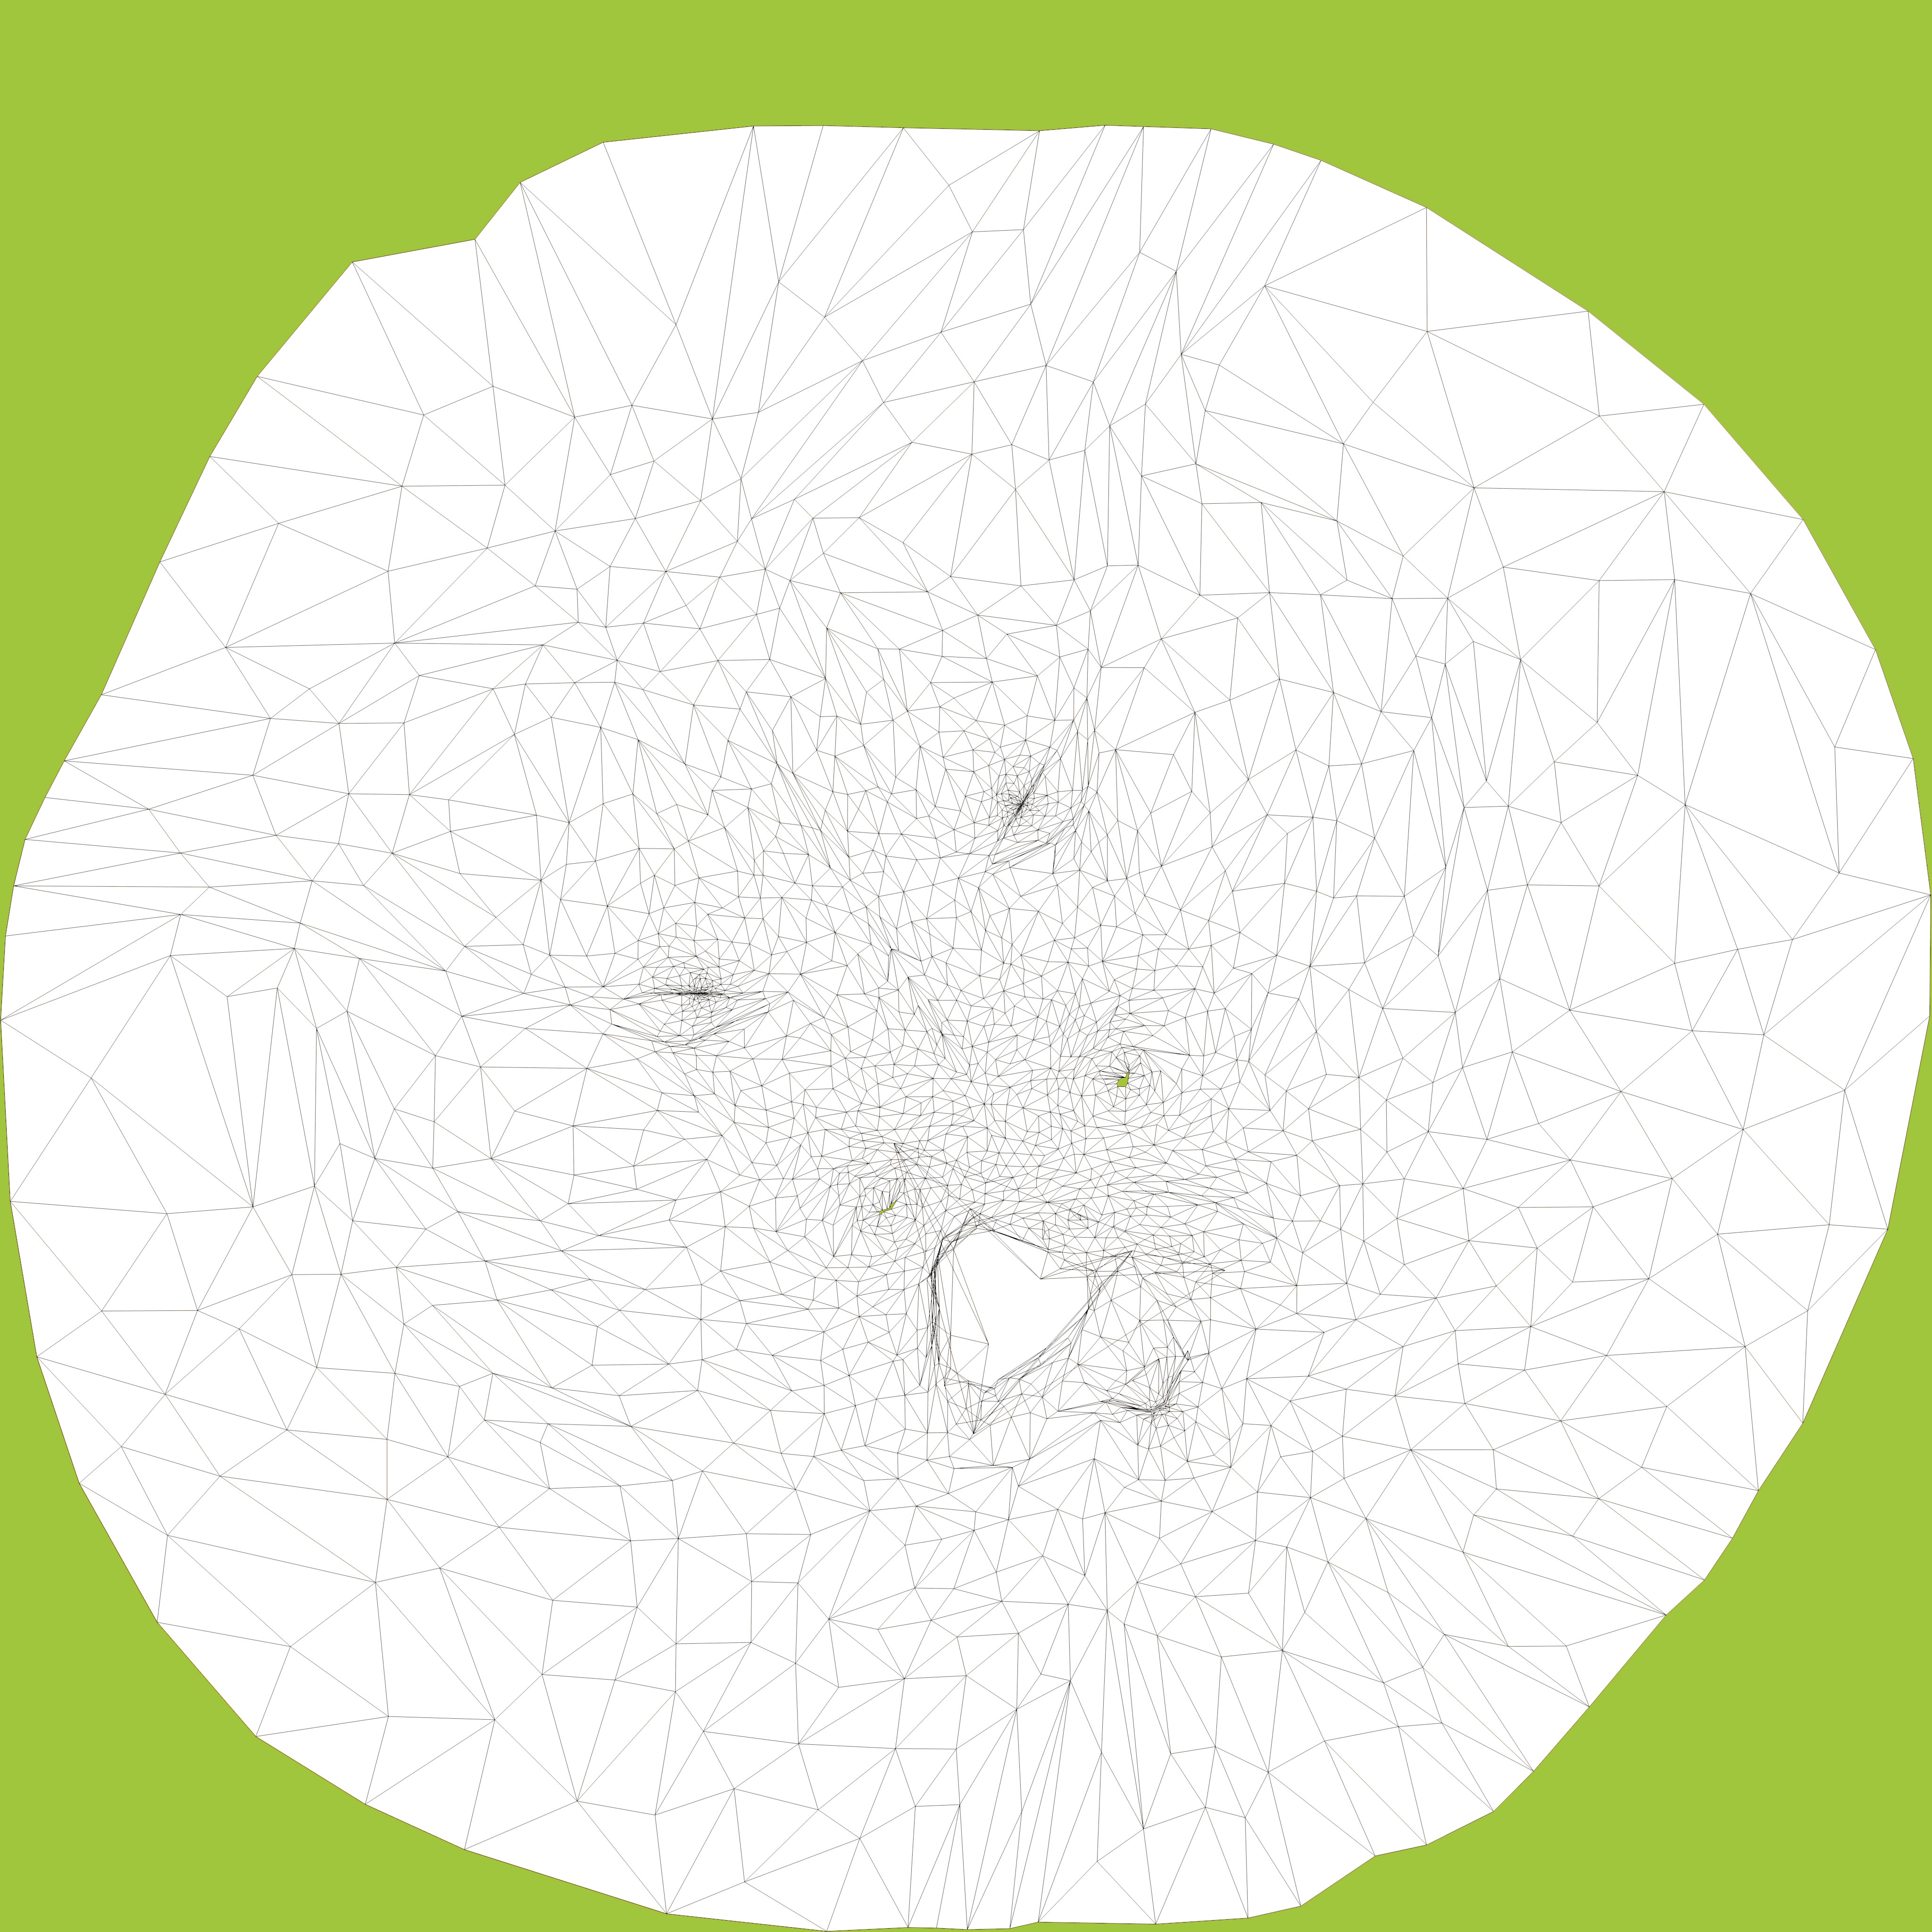
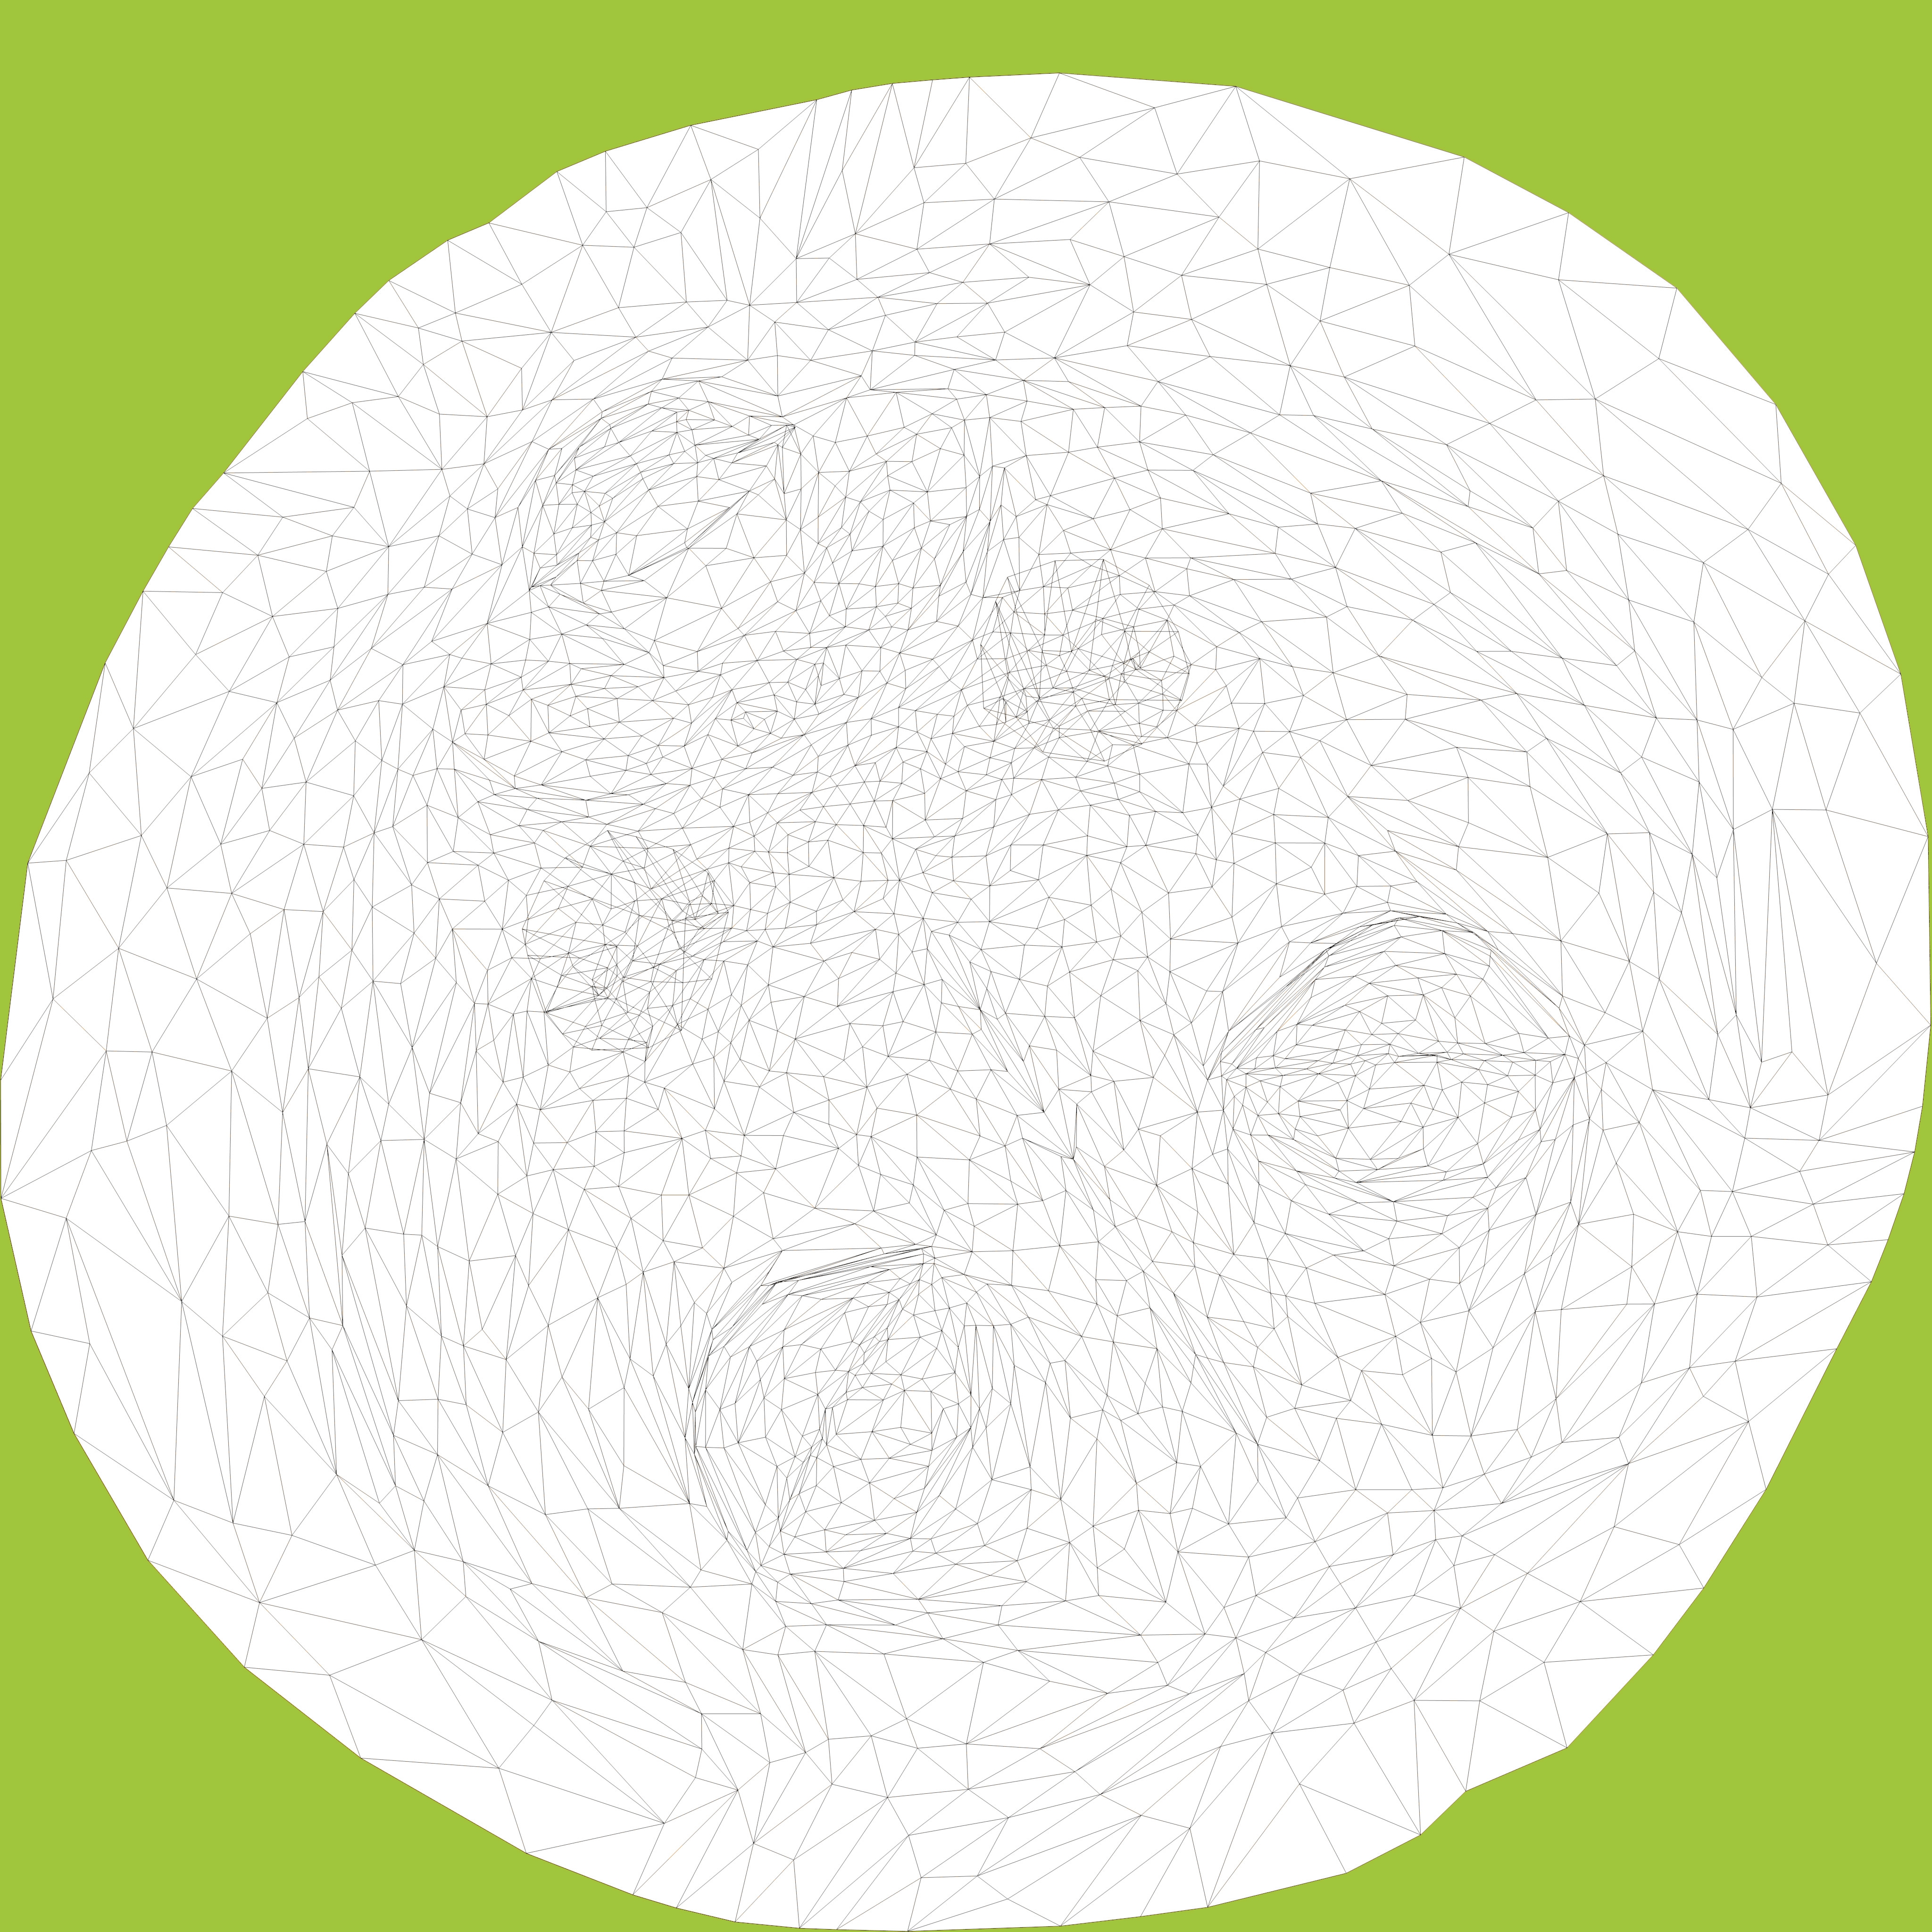
This result looks already quite nice. However, as we have disabled overlap removal, it can contain UV overlaps (and it does, in this case). If having UVs without overlaps is not important for your application, this might be OK. However, if you would like to have UVs without overlaps, without segmenting the model further, RapidCompact CLI also has a solution to offer. If stretch is not relevant, but it is only relevant that no overlaps occur, you can use the very fast fixedBoundary method, which pins the largest boundary (in this case the one around the neck) to a circle. Finally, in order to obtain a well-balanced result with minimum stretch and without any overlaps, you can use the slower, but high-quality forwardBijective method. The following figure and table shows an overview of the results generated by all available methods. Click the small images to see a larger version.
| Method | Execution Speed | Potential UV Stretch | Overlaps Possible? | Example 3D Result | Example UV Result |
|---|---|---|---|---|---|
| conformal | Fast | Medium (angles preserved) |
Yes | |
 |
| fastConformal | Very Fast | Medium (angles approximately preserved) |
Yes | |
|
| isometric | Medium | Low (angles /areas preserved) |
Yes | |
 |
| fixedBoundary | Very Fast | High | No | 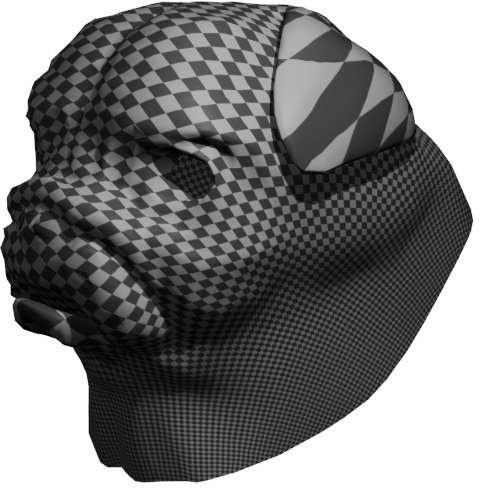 |
 |
| forwardBijective | Slow | Low (angles /areas preserved) |
No | 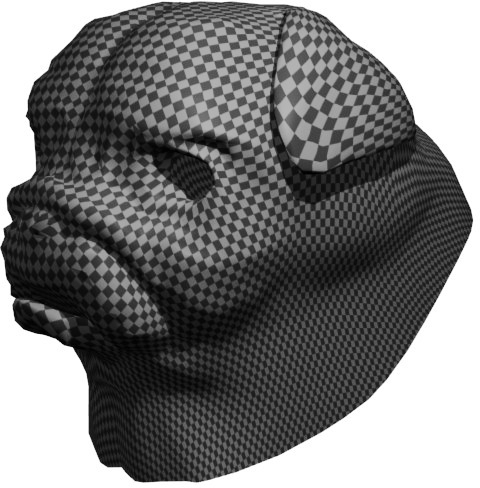 |
 |